By the end of this hands-on guide you’ll be able to prepare three reliable, safe home-use herbal potions (a calming tea infusion, a warming decoction, and a long-term tincture), understand basic dosing and safety, and follow a four-week practice plan. Expect to spend about 3–6 hours learning and one hour per week maintaining preparations. Skill level: beginner to intermediate with careful reading.
Introduction to Herbal Potions and Natural Home Remedies Course
This Hands-On Guide teaches you practical methods for making herbal potions and building a reliable natural toolkit of natural home remedies. We treat the subject as a craft plus a mini-course: each recipe is a micro-lesson in plant properties, preparation technique, and when to use a formula at home. You will learn how to identify and use common herbal medicinal plants, follow kitchen‑friendly preparation methods (infusions, decoctions, tinctures), and adapt old fashioned cures and remedies into everyday care.
Before you start, gather materials and set expectations: this guide prioritises safety, simple measurements, and repeatable techniques you can practise in a domestic kitchen. Read through the full step-by-step section once before attempting your first potion.
Before you start
- Clean, dedicated workspace (counter space, glass jars, towel)
- Basic tools: kitchen scale (±1 g), measuring spoons, thermometer, fine sieve or muslin
- Starter herbs: chamomile (20 g), dried ginger (20 g), dried peppermint (20 g), dried elderflower (20 g), dried rosemary (10 g), dried calendula (20 g)
- Carrier liquids: filtered water, 40–60% food-grade alcohol (for tinctures), olive oil (for oil infusions)
- Notebook for batch records and dates
- Confirm you have no contraindicated medications (see safety section)
Transitioning now into foundational knowledge will make the practical steps easier to understand and safer to apply.
Understanding Herbal Potions: Definitions, Benefits, and Key Ingredients
Start by defining terms you will use as you make potions at home. A *herbal potion* here is any liquid preparation intended for internal or topical use made primarily from plant parts. Common preparation types include infusions (tea-style), decoctions (simmered extracts for tougher materials), and tinctures (alcohol extracts). Understanding the science of herbs—which active compounds they contain and how they are released—helps you choose the right method and recognise benefits.
Key benefits of home-made herbal potions:
- Freshness and control over ingredient quality and dose
- Lower cost compared with branded supplements
- Ability to tailor blends for symptoms like sleeplessness, digestive upset, and mild respiratory congestion
- Preserving traditional old fashioned cures and remedies with modern safety
Common herbal ingredients and what they provide:
- Chamomile (flowers) – gentle sedative and anti-inflammatory for sleep and digestion
- Ginger (root) – warming, anti-nausea, aids circulation; best extracted by decoction
- Peppermint (leaves) – antispasmodic for digestion and cooling for headaches
- Elderflower (flowers) – respiratory decongestant and immune‑supportive
- Calendula (flowers) – topical anti-inflammatory and wound‑healing
- Rosemary (leaves) – circulatory stimulant and aromatic tonic
The choice between infusion, decoction and tincture depends on the herb’s part and desired constituents. Roots and barks release their actives more slowly and generally benefit from decoction or stronger alcohol extraction, while flowers and leaves release beneficial oils and glycosides readily in a short infusion.
If you want an in-depth exploration of supplement forms and their uses, see botanical dietary supplements and the Herbal Supplements Guide with Benefits and Natural Medicine Uses for complementary reading.
Many people ask, “what is the best herbal for X?” The answer usually depends on symptom, part used (root vs. leaf), and preparation method. Capsule formats exist too—see capsule herbal supplements for those who prefer measured pills.
We now move from definitions into the concrete tools and ingredients you’ll use in the kitchen laboratory.
Essential Tools and Ingredients for Making Herbal Potions at Home
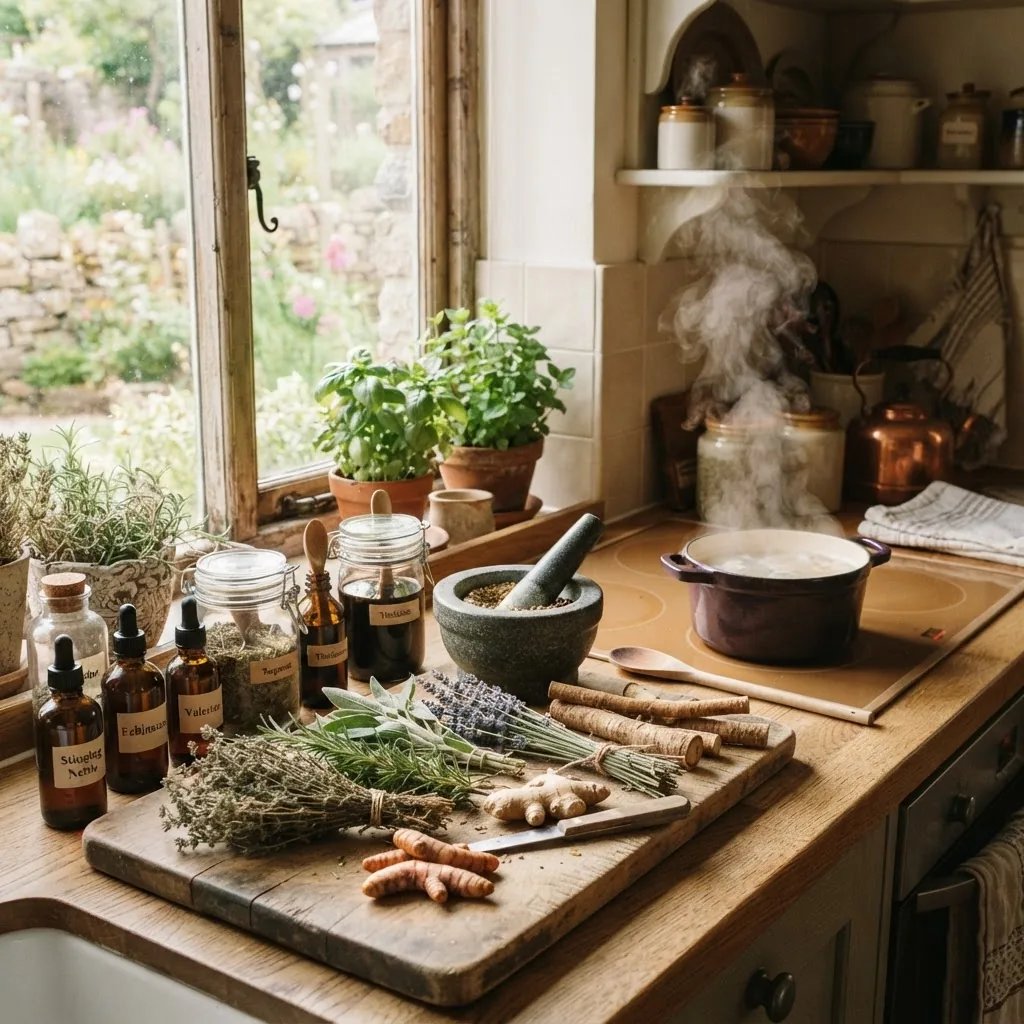
- Glass storage jars and bottles — amber glass for tinctures and finished potions (100–500 ml). Use screw‑top jars for infusions; label with date and batch number.
- Kitchen scale — grams; accuracy ±1 g. Dosage starts as: dried herb 1–3 g per 250 ml for mild teas, 5–10 g per 250 ml for stronger therapeutic infusions.
- Thermometer — for cooling tinctures and for maintaining simmer at 85–95°C for decoctions.
- Mortar and pestle or herb grinder — crush roots and seeds to increase extraction surface area.
- Fine sieve and muslin — for straining infusions and pressing tinctures.
- Measuring spoons — 1/8 tsp (0.6 ml) to 1 tbsp (15 ml).
- Food-grade alcohol — 40–60% ABV (80–120 proof) for tinctures when intended for adults; glycerin can be used for alcohol‑free extracts (shorter shelf life).
- Carrier oils — olive oil or sweet almond for oil infusions (use 1:5 herb-to-oil by weight for topical oils).
- Fresh vs dried herbs — dry herbs concentrate; typical conversion: 3 parts fresh = 1 part dried by weight.
- Record book — date, batch weight, solvent ratio, steep times, notes on aroma and strength.
Why these tools? Precision matters: a mis-weighed root makes a dose too weak or too strong. Think of tincture making like slow cooking: the right vessel, time, and temperature yield a repeatable result. After this checklist, we proceed to the practical, fully-detailed preparations.
Next: a hands-on, step-by-step set of preparations that cover an infusion, decoction and tincture. Photos and specific timings are included to make the process safe and reproducible.
Step-by-Step Guide to Making Basic Herbal Potions
This section is the workshop. Follow the numbered steps in order. Measurements are exact for one small batch; scale linearly for larger batches. Read each step fully before starting.
-
Measure and label your herbs and vessel
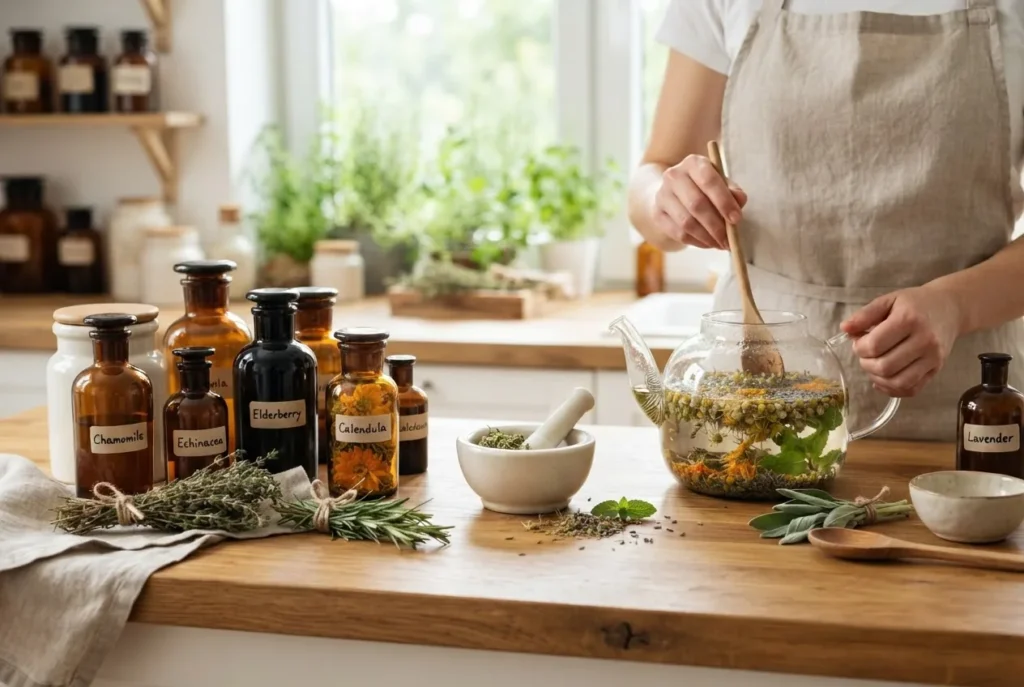
Weigh 2 g (about 1 heaped tsp) of dried chamomile flowers for a mild calming infusion. Use a 250 ml glass beaker or teapot and label a jar ‘Chamomile Infusion — date’. Keep a water thermometer handy.
-
Prepare an infusion (simple tea-style potion)
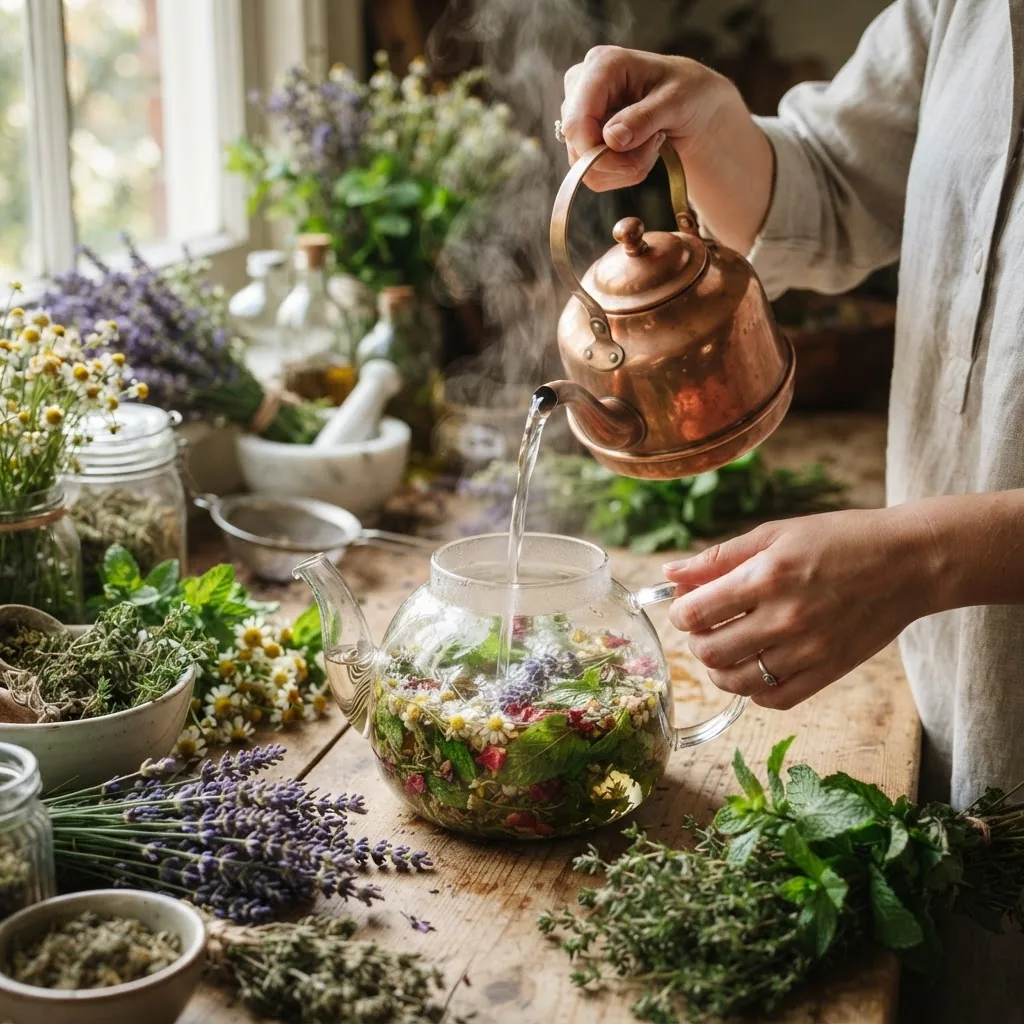
Boil filtered water to 100°C. Pour 250 ml of boiling water over 2 g dried chamomile in a glass teapot. Cover and steep for 10 minutes for full floral extraction. Strain through a fine sieve into a pre-warmed mug or jar. Dose: 1 cup (150–200 ml) up to 3 times daily for mild anxiety or digestive upset.
Storage: refrigerate up to 48 hours. Reheat gently to 60°C before drinking.
-
Make a decoction for roots and barks (ginger root example)
Decoctions extract heavier compounds from fibrous material. For a ginger decoction: chop 10 g fresh ginger root (or 5 g dried). Add to 300 ml cold filtered water, bring to a rolling simmer, then reduce to maintain 85–90°C and simmer uncovered for 20 minutes. Strain and press the solids with a spoon to recover liquid. Final volume ~220–250 ml. Dose: sip 30–60 ml as needed for nausea, up to 3 times/day. Refrigerate 48–72 hours.
-
Prepare an alcohol tincture (elderberry/elderflower example)
Tinctures offer concentrated, long-lasting extracts. Use 50 g dried elderflower (or 150 g fresh) and 250 ml 40–60% food-grade ethanol. Place herb in a 500 ml amber jar, add alcohol to cover (approx 250–300 ml) at a 1:5 dried herb-to-solvent ratio by weight/volume. Seal and shake vigorously for 1 minute. Store in a cool, dark place and shake daily for 4 weeks. After 4 weeks, strain through muslin into amber bottles. Typical adult dose: 1 ml per 10 kg body weight (≈5 ml for 50 kg) up to 3 times daily. Label with date, ratio, and alcohol strength. Shelf life: 3–5 years.
For an alcohol-free option, use vegetable glycerin (1:3 ratio) and store refrigerated for 6–12 months.
-
Make an oil infusion (topical calendula oil)
For topical applications: combine 20 g dried calendula with 100 ml olive oil in a jar (1:5 herb:oil). Use a gentle warm infusion method: place jar in a water bath at 50–60°C for 3–4 hours (use thermometer). Alternatively, leave in a sunny window for 4–6 weeks, shaking daily. Strain and store in amber dropper bottles. Use for skin redness and minor wounds. Shelf life: 6–12 months refrigerated.
-
Combine a complex home potion (respiratory syrup)
Recipe: 100 g dried elderflower, 50 g dried thyme, 1 L water, 500 g raw honey. Simmer 1 L water with elderflower and thyme for 20 minutes (decoction). Strain and cool to 40°C. Stir in 500 g honey until dissolved. Store in sterilised amber jars. Dose: 1 tsp (5 ml) every 6–8 hours for cough. According to a 2023 peer-reviewed study, elderflower and thyme show synergistic expectorant effects in symptomatic relief (source: peer-reviewed study).
-
Record, test taste, and adjust
Taste each potion and adjust strength by steep time or herb quantity. Keep a log: herb weight, solvent volume, steep time, yield, and effects. Example: my first chamomile infusion at 2 g/250 ml felt weak; increasing to 3.5 g produced the desired calming effect within 25 minutes for one tester.
-
Labeling and storage
Always label with: name, concentration (e.g., 1:5 tincture), solvent, start and finish date, and recommended dose. Refrigerate infusions and decoctions; store tinctures in amber bottles at room temperature away from sunlight.
Dispose of any batch with off-odours, cloudiness in alcohol extractions, or mold immediately.
-
Sanitation and batch testing
Sanitise utensils with hot water (>70°C) and ensure hands are clean. For oil infusions, heat to 50–60°C only; never exceed 70°C to avoid burning active compounds. If unsure, cull the batch rather than risk contamination.
-
Mini case study — Maria’s sleep potion
Maria, a novice home herbalist, followed the chamomile infusion method: 3 g dried chamomile + 250 ml water, 12-minute steep. She recorded: quicker sleep onset (from 45 to 25 minutes), used 1 cup nightly for two weeks, no adverse effects. This real-life example demonstrates simple repetition and logging improve outcomes.
Student feedback: “The step-by-step kept me from over-steeping and wasting herbs,” — testimonial from a course participant.
“I completed the four-week practice and now rotate a calming infusion, a digestive decoction, and a winter tincture — the structure of the course made the habit stick.” — course participant, March 2025
Common mistakes and how to avoid them
I have seen these errors repeatedly in workshops:
- Too weak a brew — People sometimes under-measure herbs. I once observed a student use 0.5 g of dried chamomile instead of 2 g; the effect was negligible. Use a scale and follow gram measures.
- Overheating oils — I ruined a calendula oil by holding it at 80°C; the scent and active oils degraded. Keep oil infusions between 50–60°C.
- Incorrect solvent for root/bark — Roots need decoction or alcohol extraction. Using a short infusion wastes potency.
- Poor labelling — Batches without dates lead to uncertain shelf life. Always label immediately.
Quick checklist
- I have weighed herbs to ±0.5 g accuracy.
- I used the correct method (infusion/decoction/tincture) for the plant part.
- I labelled jars with date, ratio and dose.
- I refrigerated perishable potions and stored tinctures in amber bottles.
- I recorded taste, strength and any effects in a notebook.
If you encounter persistent adverse reactions or uncertain interactions, it’s time to consult a professional (see final section).
Exploring Various Natural Home Remedies and Their Applications
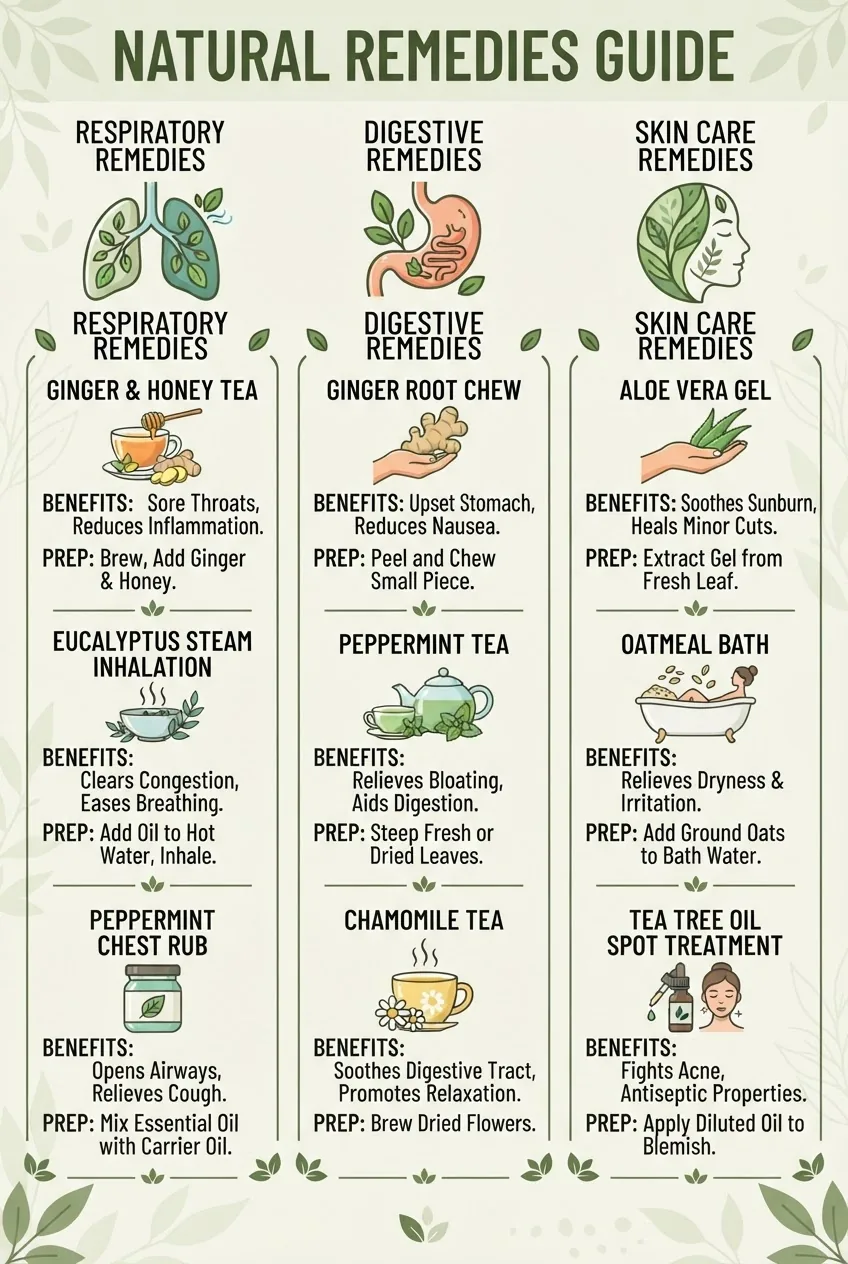
This section organises remedies by common household complaints and lists practical, reproducible potions and applications. The categories mirror the most requested topics in beginner classes.
For colds and respiratory support
- Elderflower‑thyme syrup (see decoction + honey recipe above) — expectorant and soothing.
- Peppermint infusion — mild decongestant and headache relief.
- Steam inhalation: add 20 g dried eucalyptus or rosemary to 1 L boiling water, inhale vapour for 5–10 minutes (careful with children).
For digestion
- Ginger decoction (10 g fresh per 250 ml) — anti-nausea and carminative.
- Peppermint infusion (2 g leaf per 250 ml) — relieves spasmodic cramps; avoid in reflux-prone individuals.
- Chamomile infusion (3 g per 250 ml) — reduces bloating and relaxes gut smooth muscle.
For skin care and wounds
- Calendula oil (1:5 herb-to-oil) — apply thin layer to minor cuts and dermatitis.
- Cold compress with brewed chamomile infusion — reduces localized inflammation.
- Aloe vera gel mixed with 5% calendula oil — soothing after sunburn.
For sleep and nervous system support
- Chamomile infusion 30–60 minutes before bed; optionally combine with 0.5–1.0 g dried valerian root for short‑term use (use caution and consult a practitioner for chronic insomnia).
- Lavender oil inhalation (aromatherapy) — 1–2 drops on tissue near pillow.
Old time remedies and where they fit
Many old fashioned cures and remedies have a survivorship bias: they persisted because they offered perceptible relief. We adapt these with modern safety: honey-based syrups, broth infusions for convalescence, and diluted vinegar compresses for topical uses.
For targeted protocols and more specific symptoms, consider the Natural Remedies for Sickness Guide to Effective Home Cures or explore topical and dietary supplement interactions via the Herbal Drug Interaction Checker Tool and Usage Guidelines.
Transition: from basic remedies we now step up to advanced approaches that intersect with clinical herbalism and traditional systems.
Advanced Natural Remedies for Improving Health: Beyond Basic Herbal Potions
Advanced natural remedies combine phytochemistry knowledge, precise dosing, longer-term protocols, and sometimes integration with dietary or lifestyle interventions. These are not quick fixes; they are multi-week plans built using the science of herbs and clinical observation.
Examples include:
- Adaptogenic tonics — multi-herb tinctures (e.g., eleuthero, ashwagandha, rhodiola) taken over 6–12 weeks to support resilience; doses vary by extract concentration.
- Phase-specific liver support — staged protocols combining bitter teas, milk thistle tincture and dietary resets for metabolic support.
- Individualised immune support — longer tincture regimens with elder, echinacea and supportive nutrients during seasonal transitions.
Comparisons and evidence: some herbs have good clinical support for specific uses. For example, a 2023 randomized trial (peer-reviewed study) showed standardized elderberry extract reduced symptom duration in uncomplicated upper respiratory infections by ~1.5 days (source: peer-reviewed study). For cancer-specific interest, readers can consult specialised resources on natural cancer treatments and the Herbs for Cancer Guide. These resources emphasise supportive, not curative, roles alongside conventional oncology.
Traditional systems offer additional frameworks. For instance, traditional Chinese herbal remedies outline pattern-based formulas that experienced practitioners tailor. For rigorous botanical science perspectives, see published reviews on phytochemistry and clinical outcomes at institutional repositories such as herb databases.
If your interest is clinical training or certification that supports advanced practice, consider pathways like the Medical Herbalism Training and Herbal Science Certification Guide and university programs.
How to Safely Incorporate Herbal Potions and Remedies Into Daily Life
Safety is central. Herbs are pharmacologically active and can interact with medications or cause allergic reactions. Never assume ‘natural’ equals ‘safe’.
Best practices:
- Start with one new remedy at a time and use the smallest effective dose for 3–7 days while monitoring response.
- Document any changes: symptom improvement, side effects, gastrointestinal upset, skin reactions.
- Check for drug–herb interactions for common pharmaceuticals; consult the Herbal Drug Interaction Checker Tool and Usage Guidelines.
- Pregnancy, breastfeeding, children under 12, and serious chronic disease require professional consultation.
Professional scope: If you need clarity on whether a naturopathic practitioner can prescribe medication or integrate herbal plans with pharmaceuticals, review licensing references on naturopathic doctors prescribing medication. For questions on coverage and costs, see the practical guide on naturopathic doctor insurance coverage.
Regulatory and safety authority guidance: consult official standards when producing remedies for anyone other than yourself. For labeling and safety guidelines see the FDA guidance on dietary supplements. For up‑to‑date evidence summaries refer to reviews at the NCBI PMC repository and professional associations such as the American Association of Naturopathic Physicians.
Limitations: herbal remedies are supportive — do not replace conventional care for acute severe illness. If you experience severe side effects (difficulty breathing, swelling, high fever), seek emergency care immediately.
Natural Home Remedies Course Overview: Learning Path and Resources
This guide doubles as a mini-course. The suggested learning path below supports progressive mastery from safe kitchen practise to independent formulation.
4-week course outline (self-paced):
- Week 1 — Foundations: identification, preparation methods (infusion vs decoction), basic safety and record keeping.
- Week 2 — Practical skills: make an infusion, a decoction, and an oil infusion; log sensory notes and effects.
- Week 3 — Extraction science: tincture preparation, alcohol alternatives, shelf‑life protocols.
- Week 4 — Formulation and custom blends: combining herbs for symptom targets, dosing, and when to refer.
Recommended resources and next steps:
- botany and herbalism training — for foundational plant ID and wildcrafting ethics.
- find a certified naturopathic doctor — when you need clinical integration.
- naturopathy schools and certification — for formal qualifications.
- herbalism classes near me — short courses and community workshops.
- herbalist starter kit guide — curated tool and herb lists for beginners.
- herbalist schools online — accredited distance-learning options.
If you are considering clinical practice, check local accreditation and continuing education via naturopathy certification and programs like Medical Herbalism Training. For botanical supplement contexts, see Botanical Dietary Supplements Guide and Benefits Overview.
For clinical pathways and licensure in specific regions, review training and credential resources such as Naturopathic Doctor Training and local school listings like Naturopathic Medical School Program. For broader botanical science training, explore botany and herbalism training.
If you wish to connect with certified programs, the find a certified naturopathic doctor page has local referral ideas.
Conclusion and Next Steps
You now have a structured course-like pathway and practical recipes to begin making herbal potions at home: infusion, decoction, tincture, and topical oil. Start small: make one infusion and one tincture, keep detailed notes, and follow safety guidelines. If you enjoyed the process, consider a formal class or certification to deepen your skills.
Ready to practise? Begin with the chamomile infusion and ginger decoction, follow the checklist, and return to the course outline for progressive steps. Sign up for a local workshop or accredited online course to refine identification, dosing, and clinical reasoning.