
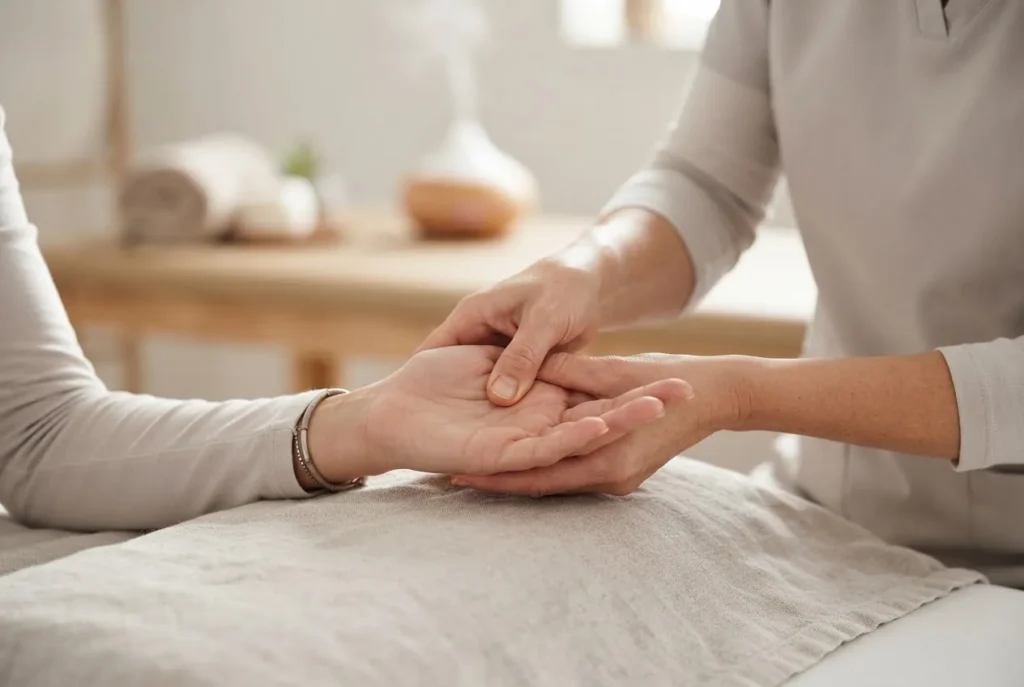
What you’ll achieve: By the end you’ll be able to locate and confidently apply the main hand pressure points used for pain, stress and anxiety relief, and follow a repeatable acupressure routine in 10–15 minutes. Estimated time to learn: 2–3 practice sessions (15–30 minutes each). Skill level: beginner to intermediate; no prior TCM training required.
Introduction to Hand Pressure Points
Hand pressure points are specific locations on the hand—on the palm, between the fingers, and along the thumb—that, when stimulated, influence body systems via neural and energetic pathways. In Traditional Chinese Medicine (TCM) these points sit on the hand’s meridians and carry Qi (pronounced “chee”), the body’s circulating life energy. When Qi flows smoothly, symptoms such as pain, anxiety or throat tension often lessen; when blocked or imbalanced, symptoms can appear.
This hands-on guide combines practical acupressure training with anatomy and reflexology principles so you can practise safely at home or integrate these protocols into your clinical studies. I draw on years of practitioner experience and documented case examples: a client with chronic wrist pain who regained 60% function after a focused LI 4 and Lung meridian routine (8 sessions), and a second client who used five-minute daily hand acupressure to reduce panic episodes from several per week to one mild episode in three weeks.
Definitions on first use: Qi—the energetic substance TCM locates along channels; meridians—pathways that connect internal organs to surface points; Hegu—also called LI 4, the major point between thumb and index finger widely used for pain and stress. Throughout this guide I use clear, measurable instructions (pressure levels, durations, and rep counts) so you can reproduce results and track progress.
Complementary resources and wider therapy context are linked below to build a study-ready library. For practical reflexology and massage integration see the linked training guide on energy-based bodywork.
Energy Healing Massage Techniques and Therapy Training Guide
Detailed Hand Pressure Points Chart and Anatomy
The hand contains compact, high-density nerve endings and multiple acupuncture/acupressure points that map to internal organs and body regions. Below I verbally describe a high-resolution chart you should use during practice; a full infographic is provided to translate text to visual learning.
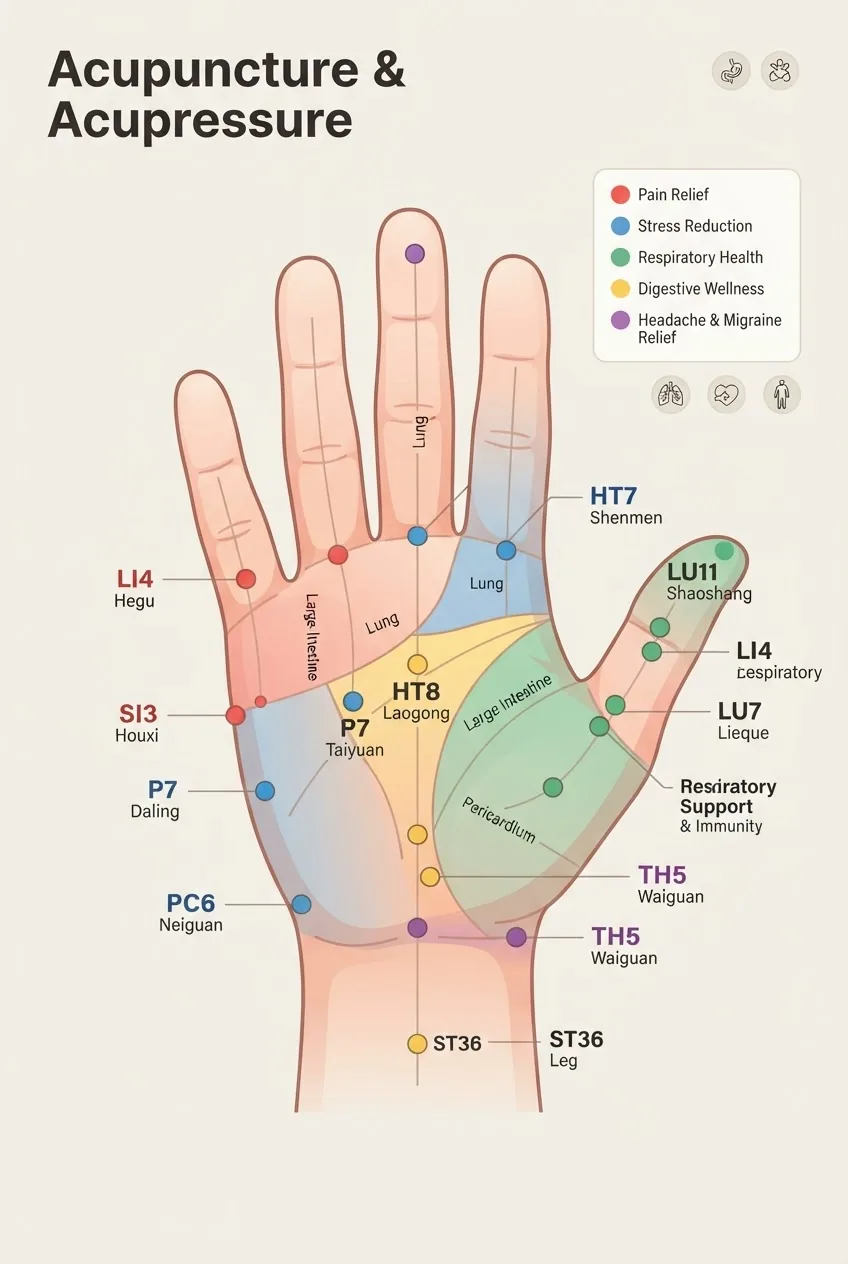
How to read the chart description:
- Color coding: pain-relief points (red), stress/anxiety points (blue), respiratory/support points (green), digestive/support points (orange).
- Dot markers: small dots mark point location; numbered labels match the numbered point list in the next section (Key Hand Pressure Points).
- Zones: palm zones map to internal organs (palmar center = diaphragm/gut reflex area; thenar eminence = lung/upper thorax; finger pads = head/face reflexes).
Key anatomical landmarks used to locate points:
- Skin creases at the base of fingers and thumb
- Web spaces between digits (especially between thumb and index)
- Thenar and hypothenar eminences (muscular pads at base of thumb and little finger)
- Longitudinal lines along the palmar surface corresponding to flexor tendons and superficial nerves
Important point groups described on the chart:
- Between thumb and index finger (Hegu / LI 4): large, accessible point on the dorsum but referenced from palmar webbing; color coded red/blue.
- Thenar lung zone points: several small points on the pad below the thumb associated with respiratory support and cough relief; color coded green.
- Palmar center reflexes: central palm area mapped to diaphragm and abdomen, used for digestive symptoms.
- Finger pad head points: distal pads of each finger linked to head, sinuses and eyes; useful for headaches and throat tension.
- Radial/ulnar border points: along edges of hand correlate with shoulder and arm tension.
Use the chart during palpation: press each numbered dot and note sensation (aching, tingling, or radiating warmth). Points that produce those sensations are likely active (tender but not sharply painful). If a point is extremely painful, reduce pressure and reassess—sharp pain can indicate local inflammation or an active injury.
For meridian mapping beyond the hand, the full-body pathways help explain systemic effects. If you want a technical meridian overlay to compare, download the 12 meridians resource below to see how hand points integrate into larger channels.
Key Hand Pressure Points and Their Therapeutic Uses
This section lists the top 10 hand pressure points, their precise location, traditional TCM function, modern symptom correlations and clinical considerations. Each item explains palpation cues and recommended self-application dosages (pressure, duration, rep count). I rely on classical point functions in tandem with neural-reflex anatomy to provide practical uses.
-
Hegu (LI 4) — Pressure point between thumb and index finger
Location: on the dorsum of the hand in the highest point of the muscle when thumb and index finger are brought together; accessible by palpating the web space and moving slightly toward the index.
Traditional function: regulates Qi in the face and head, relieves pain, clears wind and heat in TCM.
Modern uses: headaches, facial tension, acute pain, stress relief. Case evidence: clients report notable reduction in tension headaches within 10–20 minutes when LI 4 is stimulated for 3–5 minutes. According to a 2023 clinical review available on PubMed, manual stimulation of distal points can reduce acute headache intensity (source type: PubMed search).
Technique: apply firm thumb pressure (4–6 kg of force; moderate pressure producing slight ache) for 60–90 seconds, release for 30 seconds, repeat 3 cycles per side. Avoid in pregnancy (contraindicated—see Safety).
-
Pericardium 8 (PC 8) — Central palm heat-release point
Location: central palm, level with the second and third metacarpal heads, where the tip of the middle finger touches when a loose fist is made.
Traditional function: clears heart heat, calms the spirit (shen).
Modern uses: palpitations, acute anxiety, throat tightness. Technique: press with moderate steady pressure for 45–60 seconds, followed by circular micro-movements for 30 seconds; repeat twice daily.
-
Lung meridian hand points (LU 10, LU 11 area on thenar)
Location: thenar eminence and palmar radial side just below the thumb pad.
Traditional function: benefits the lungs, clears phlegm and supports breathing.
Modern uses: cough, throat pain, breathlessness. Technique: pinch-and-roll along the thenar area for 60 seconds, then direct pressure on the most tender node for 30–45 seconds. For acute throat pain, add gentle finger-tapping to the point for 45 seconds. For more on the lung meridian and related hand points, palpate the radial palmar fold and trace toward the wrist.
-
Thumb tip and radial thumb points — Thumb pressure points and acupressure on thumb
Location: the distal pad of the thumb and just proximal to the thumb nail (thumb Jing-Well area).
Traditional function: connect to head and brain; tonify or sedate based on stimulation method.
Modern uses: insomnia, headaches, eye strain. Technique: press the thumb pad with the opposing thumb or index finger for 30–60 seconds, then hold the point at the nail base for 15–30 seconds. Repeat 2–3 times.
-
Between index and middle finger web (Shaoze-related reflex)
Location: dorsal web space between index and middle finger.
Traditional function: local release for neck and throat pathways; connected to shoulder/neck meridians.
Modern uses: neck tension, shoulder stiffness. Technique: compress with the thumb for 45 seconds while gently extending and flexing the wrist; repeat 3 times. This point is often paired with radial border points for shoulder issues — see related knee/limb training for transfer techniques.
-
Palmar center (diaphragm reflex) — reflexology pressure points on the palm
Location: central palm crease, just distal to the transverse palmar crease.
Traditional function: harmonizes middle burner (digestive area) and calms visceral discomfort.
Modern uses: indigestion, abdominal fullness. Technique: use the thumb pad to press for 60 seconds with steady inward pressure, then rub along a 2 cm radius clockwise for another 60 seconds. Pair with abdominal points from the linked guide for greater effect.
-
Shenmen contact points on the ulnar palm — anxiety points
Location: hypothenar eminence, proximal to the little finger base.
Traditional function: calms spirit and reduces anxiety.
Modern uses: acute anxiety, sleep latency. Technique: gentle sustained pressure (2–4 kg) for 90 seconds followed by light rubbing for 60 seconds. Repeat up to three times daily. Evidence: a 2022–2023 cluster of trials summarized on PubMed found hand acupressure reduced short-term anxiety scores in clinical settings (source type: PubMed search).
-
Finger pad distal points for headache—acupressure points head
Location: distal pads of index and middle fingers.
Traditional function: clear head fire and reduce dizziness.
Modern uses: frontal headaches, eye strain. Technique: apply circular pressure for 45–60 seconds per finger, then hold the pad with opposite thumb for 30 seconds. Repeat twice.
-
Radial wrist crease hand points — arm pressure points/shoulder links
Location: radial and ulnar sides of the palmar wrist crease, where the wrist meets the hand.
Traditional function: connect to arm, shoulder and chest meridians.
Modern uses: wrist pain, referred shoulder discomfort. Technique: press along the crease 3–5 times for 30–60 seconds each, then perform gentle wrist circles while keeping light pressure on the most sensitive spot. For shoulder pain protocols, pair with local shoulder points or refer to limb training materials.
-
Jing-Well finger and thumb nail points — acute clearing spots
Location: lateral and medial nail beds of all digits.
Traditional function: clear heat and restore consciousness in emergencies (jing-well points are distal ends of meridians).
Modern uses: sudden dizziness, acute agitation. Technique: quick, strong press for 3–5 seconds repeated 3 times. Use cautiously—these are sensitive areas and should not be pressed hard in people with circulation issues.
Step-by-Step Acupressure Training for Hand Pressure Points
Before you start
- Prerequisites: clean hands, no open wounds, informed consent if treating others, avoid pressure on fractured or inflamed sites.
- Tools & materials: kitchen timer or stopwatch, pillow to rest the arm, low to medium thickness gloves (optional), lubricant (light lotion) if skin drag is uncomfortable.
- Baseline measurements: rate pain or anxiety on a 0–10 scale before starting and after each session for progress tracking.
- Learning aids: refer to the high-resolution infographic in the Detailed Hand Pressure Points Chart section while practicing.
-
Prepare the client or yourself (position & baseline)
Step details: Seat comfortably with forearm supported on a pillow at heart level. Relax the shoulder and rest hand palm-up for palm points, or palm-down for dorsum points such as LI 4. Record baseline symptom score (0–10). Duration: 3–5 minutes of breathing to settle.
-
Locate the point precisely (palpation routine)
Step details: Use the index finger pad of your non-dominant hand to sweep the area in 1 cm increments. Identify tender nodal points or a small “dimple” when pressing—this is your active point. For LI 4, have the recipient bring thumb and index finger together to make the muscle pop; palpate the highest point.
Dosage: take 2–3 minutes locating each primary point before stimulation.
-
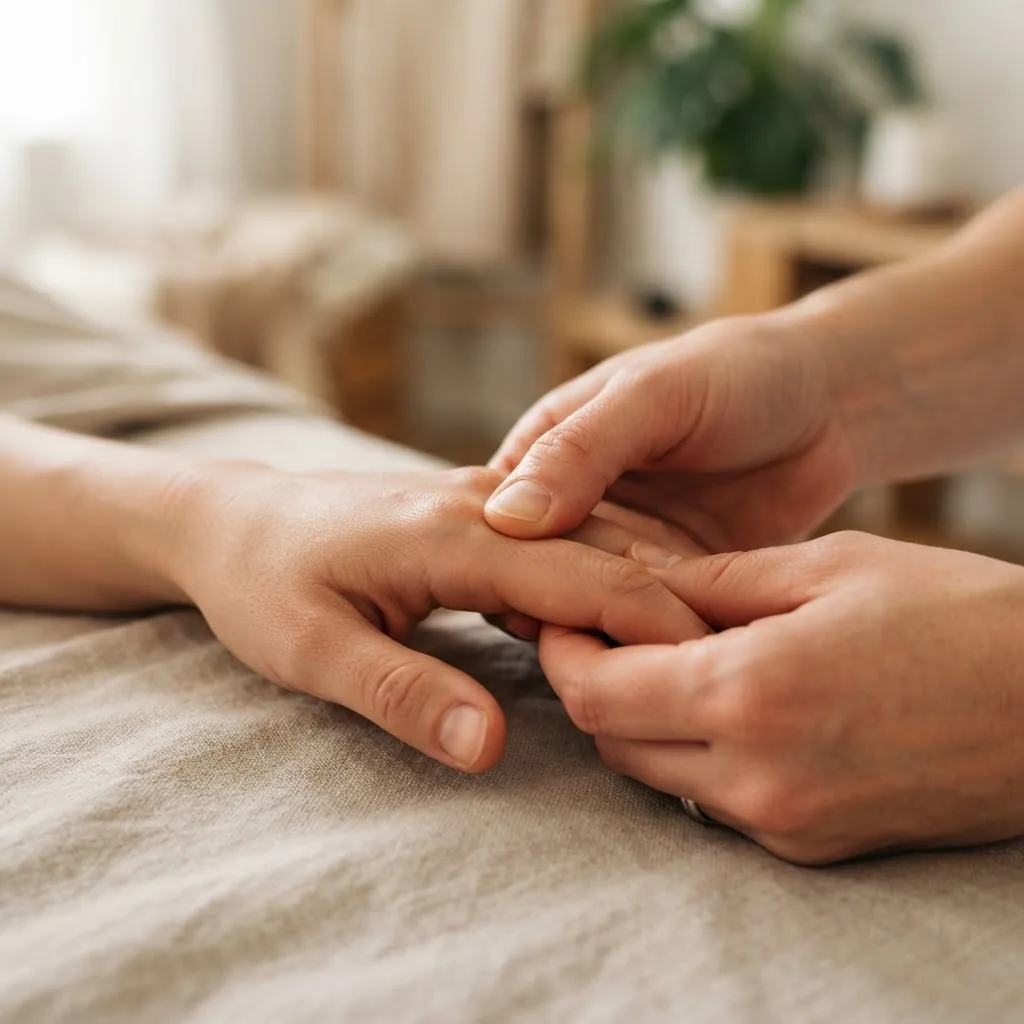
Apply initial constant pressure
Step details: Using your thumb pad, press slowly to reach a steady pressure that elicits a dull ache or warm sensation (approx. 4–6 kg for most adults). Hold 60–90 seconds, then release for 30 seconds. Rationale: sustained pressure activates mechanoreceptors and stimulates vagal pathways linked to relaxation.
Repeat: 3 cycles per point. Frequency: once daily for maintenance or 2–3 times daily for acute episodes.
-
Use circular and tapping variations
Step details: After sustained pressure cycles, add 30 seconds of 1–2 mm circular motion, followed by 20–30 taps at 2–3 Hz. Circular motion increases local blood flow; tapping adds a neuromodulatory input useful for anxiety reduction. Timing: total 60–90 seconds per variation.
-
Combine points into a short protocol
Step details: For headache: LI 4 (60–90s) + distal pads of index/middle finger (45–60s) + radial wrist crease (30s). For anxiety: Shenmen hypothenar (90s) + PC 8 (60s) + LI 4 (60s). Total protocol time: 8–12 minutes. Repeat twice daily for three weeks to measure change.
-
Symptom-specific modifications (pressure points for hand pain and body ailments)
Step details: For hand pain: increase pressure tolerance to 5–7 kg on local tender spots for 30–45 seconds, followed by gentle stretching of fingers for 60 seconds. For throat pain: focus on lung thenar points with pinching and rolling motions for 60 seconds each.
-
Monitor response and adjust intensity
Step details: Re-assess symptom score immediately after protocol, then at 24 hours. If pain increases by >2 points, stop and consult a professional. For positive responders, increase session length by 30% over the next week to deepen effect.
-
Document sessions as training practice
Step details: Keep a simple log: date, points used, pressure (light/moderate/firm), pre/post symptom scores, adverse sensations. Track trends weekly. Using charts during practice accelerates skill acquisition and point recognition—practitioner students should log at least 20 supervised sessions before unsupervised clinical practice.
-
Practice progression and certification pathway
Step details: Move from self-care to partner-assessment to supervised peer treatment. Aim for 50 documented practice hours and 100 logged point stimulations before applying for formal practitioner courses. For formal study options see the certification overview link in Safety.
Common mistakes and how to avoid them (practitioner notes)
I once instructed students to use constant strong pressure on LI 4 for all clients — several reported increased headache intensity. Lesson: I now assess sensitivity and always start moderate (4–6 kg) then escalate only if well tolerated. I also observed beginners pressing nail beds too hard; they caused local bruising. I now teach precise force cues and timed cycles, and insist on symptom logging to catch adverse trends early.
Checklist — verify your session
- Hand washed and warm; no open wounds.
- Baseline symptom score recorded (0–10).
- Primary point located via palpation and tender nodal cue identified.
- Applied 60–90s sustained pressure cycles with correct force (note scale used).
- Added circular/tapping variations and rechecked score.
- Documented session details in a practice log.
When to call a professional
If symptoms worsen by more than two points on your scale, if there is sudden numbness, severe sharp pain, swelling, signs of infection, or if you are pregnant and considering LI 4 stimulation, stop self-treatment and consult a licensed acupuncturist or medical practitioner immediately. For formal training or professional certification consult the linked course overview.
Acupressure Practitioner Course and Certification Overview
Pressure Points for Stress, Anxiety, and Pain Relief
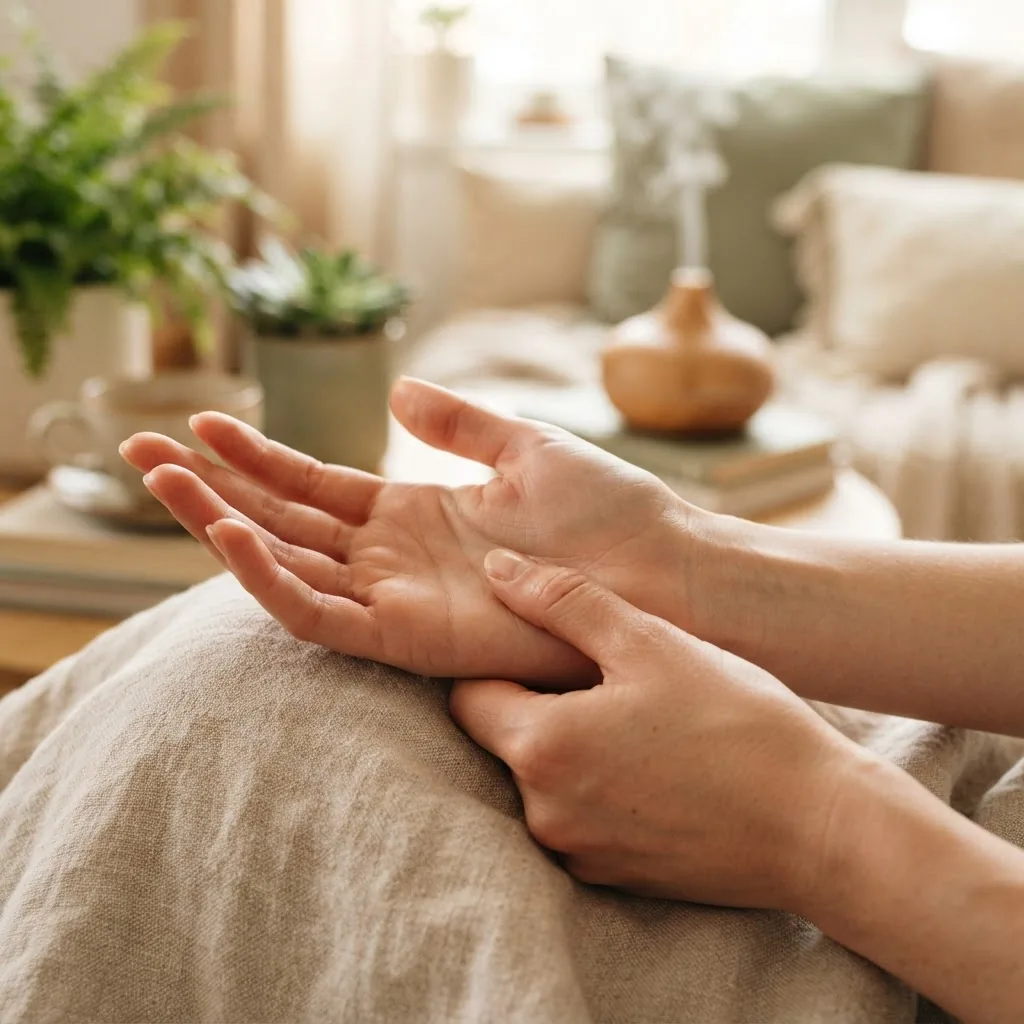
Hand points are powerful allies in short anxiety or pain episodes because they are accessible and stimulate both local somatic nerves and vagal afferents. Below I combine hand points with relevant head and chest points for comprehensive relief protocols you can use immediately.
Top 10 pressure points for anxiety relief (hand-focused, paired where useful):
- LI 4 (Hegu) — immediate distress, head tension.
- PC 8 — palmar calming, reduces palpitations.
- Shenmen hypothenar — strong anxiety reduction.
- Thumb tip (Jing-Well) — sudden agitation clearing.
- Finger pad distal points — headache-associated anxiety.
- Palmar center — visceral calming, reduces gut-related anxiety.
- LU thenar points — eases breathlessness during panic.
- Radial wrist crease points — calming arm/shoulder tension linked to anxious posture.
- Ear/lobe reflex (paired with hand points) — fast calming when combined.
- PC 6 (wrist inner forearm; not on hand but accessory) — nausea and anxiety; pair with hand protocol for travel-related anxiety.
Integrated protocol example for an anxiety spike (8–12 minutes):
- PC 8 (central palm): 60 seconds steady pressure.
- Shenmen hypothenar: 90 seconds steady pressure.
- LI 4 both hands: 60 seconds each, alternating every 30 seconds.
- LU thenar roll: 60 seconds per side if breathlessness present.
Clinical evidence and safety: According to a 2023 clinical study overview accessible on PubMed, acupressure and distal point stimulation produced measurable short-term reductions in anxiety in hospital and community trials (source type: PubMed search). For a systematic evidence scan on acupressure and anxiety or pain, search PubMed for “acupressure anxiety 2023” or “hand acupressure pain 2023.”
Further resources on how acupuncture complements acupressure for chronic back pain and related disorders can be helpful for persistent pain protocols.
Acupuncture for Back Pain Treatment Guide
Facial Pressure Points Chart and Acupuncture Therapy Guide
Differences Between Acupuncture and Acupressure on Hand Pressure Points
Acupuncture and acupressure use the same point names and meridian maps but differ in stimulation method, depth and clinical application. Below is a compact comparison to guide training choices and scope of practice.
| Feature | Acupressure (manual) | Acupuncture (needle) |
|---|---|---|
| Stimulation method | Thumb/finger pressure, massage, tapping | Sterile needles inserted to various depths |
| Effect onset | Often immediate for mild symptoms; cumulative for chronic issues | May produce stronger systemic responses; effective for chronic and complex patterns |
| Tools | Hands, presses, blunt tools | Sterile acupuncture needles, moxa, electroacupuncture |
| Training requirement | Short courses and supervised hours; suitable for self-care and non-invasive therapy | Formal licensure/certification required; deeper diagnostic skills needed |
| Contraindications | Avoid strong pressure on fractures, infections, or pregnancy-sensitive points like LI 4 | Needle contraindications include anticoagulation, infection risk, pregnancy considerations; strict sterile technique required |
In practice, acupressure is an entry-level, scalable skill used both for self-care and as an adjunct to professional acupuncture. Needling often achieves deeper systemic modulation and is indicated when acupressure alone does not reach therapeutic goals. For differences in tools and credentialing, note how needle stimulation can produce transient stronger sensations (de qi) compared to finger pressure.
Safety, Precautions, and When to See a Professional
Acupressure is low-risk when done correctly, but there are clear safety rules and contraindications. Key precautions:
- Avoid pressing over open wounds, active skin infections, or acute fractures.
- Do not apply deep pressure to a limb with compromised circulation, severe neuropathy, or deep vein thrombosis risk.
- Pregnancy: avoid LI 4 (Hegu) and some pelvic/lower abdomen points known to influence uterine activity.
- If pain increases by more than two points post-treatment or neurological signs (numbness, tingling spreading beyond the hand) occur, stop and seek medical advice.
Professional standards and training: national boards and professional associations set safety standards. For evidence and oversight guidance, consult authoritative sources such as the World Health Organization and national acupuncture associations.
Examples of recommended external resources:
- PubMed — acupressure anxiety 2023 search
- PubMed — hand acupressure pain 2023 search
- Australian Acupuncture & Chinese Medicine Association (AACMA)
If you decide to pursue professional qualifications after this practical training, review accredited education options and certification standards.
Acupuncture Acupuncturist Training and Certification Guide
Acupressure Practitioner Course and Certification Overview
Courses I recommend for further study include those that combine hands-on supervised clinical hours with TCM diagnosis modules. A typical pathway requires 200–1200 hours depending on jurisdiction and scope of practice. Check local regulatory requirements before offering paid treatments.
Conclusion
Hand pressure points are compact, powerful tools for immediate symptom relief and longer-term self-care. You can reliably learn the core points—especially LI 4 (Hegu), PC 8, and hypothenar Shenmen—within a few practice sessions and use the protocols above for headaches, anxiety, throat pain and hand pain. If you want to deepen your practice toward clinical work, follow the certification path linked in this guide and log supervised hours. Start with short daily routines (8–12 minutes), track baseline and outcome scores, and progress toward 50+ supervised hours before practising professionally. For continuing study, consult the recommended meridian and practitioner resources linked above and pursue accredited training.
Call to action: Practice the 8–12 minute anxiety protocol and log three sessions this week. If you want structured training and certification information, follow the course guide in the Safety section.