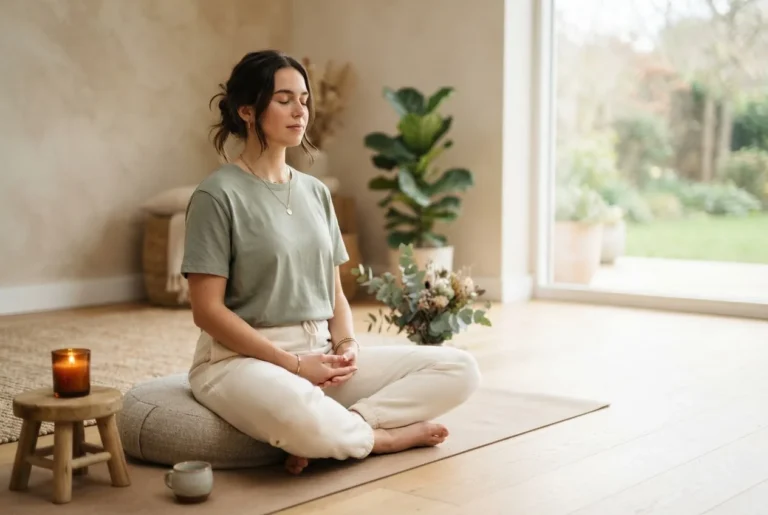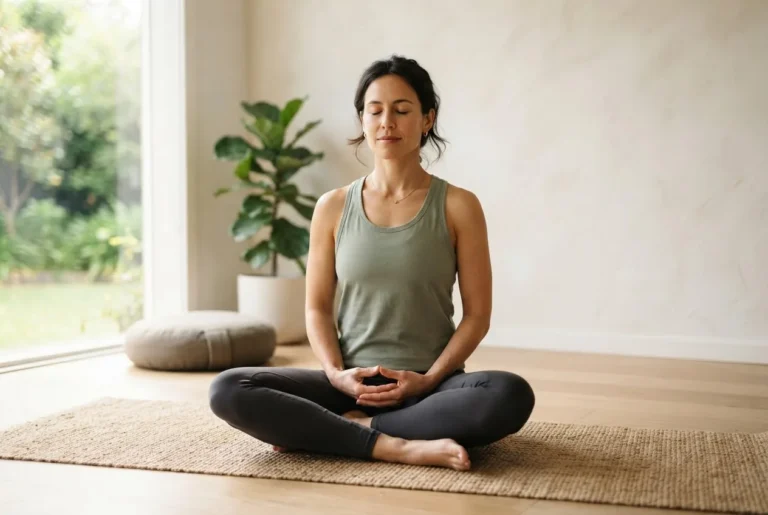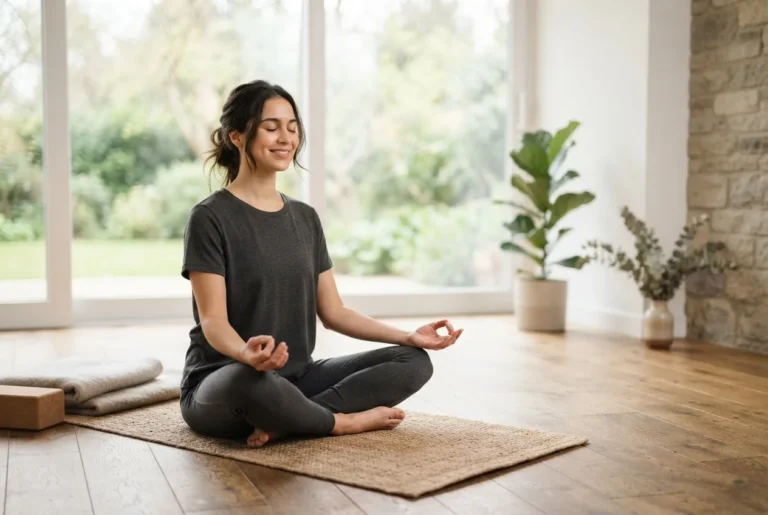
By the end of this hands-on guide you will have learned how to run three full guided visualisation sessions, build daily mindful imagery habits, and use precise scripts for stress reduction; total active practice time: 10–30 minutes per session, skill level: beginner to intermediate.
This guided visualisation guide focuses on relaxation and mindful imagery, giving step-by-step exercises, scripts, sensory cues and troubleshooting so you can begin a practical practice today.
Before you start
- Quiet space: a comfortable chair or cushion and low-distraction room (10–30 minutes available).
- Optional: soft timer, low-volume headset or speakers, notebook and pen for reflections.
- Lighting: dim or natural light; temperature: 20–23°C (68–73°F) to avoid physical distraction.
- Intensity: plan sessions of 10, 20 or 30 minutes—start with 10 minutes for the first week.
What Is Guided Visualisation?
Guided visualisation (also called guided imagery or mindful imagery) is a relaxation technique that uses directed mental images to foster calm, reduce stress and rehearse positive outcomes. Rather than emptying the mind like some meditation forms, guided visualisation provides a narrated or self-directed storyline that engages the senses—sight, sound, touch, smell and even taste—so the brain responds as if the experience were real.
Typical examples include imagining a safe place (a sheltered beach, a garden), rehearsing a confident performance, or using healing imagery to support recovery after illness. A short example: picture warm sunlight on your skin while you breathe slowly; notice a steady rhythm in your limbs and the gentle rise and fall of your chest—this sensory focus shifts the nervous system toward relaxation.
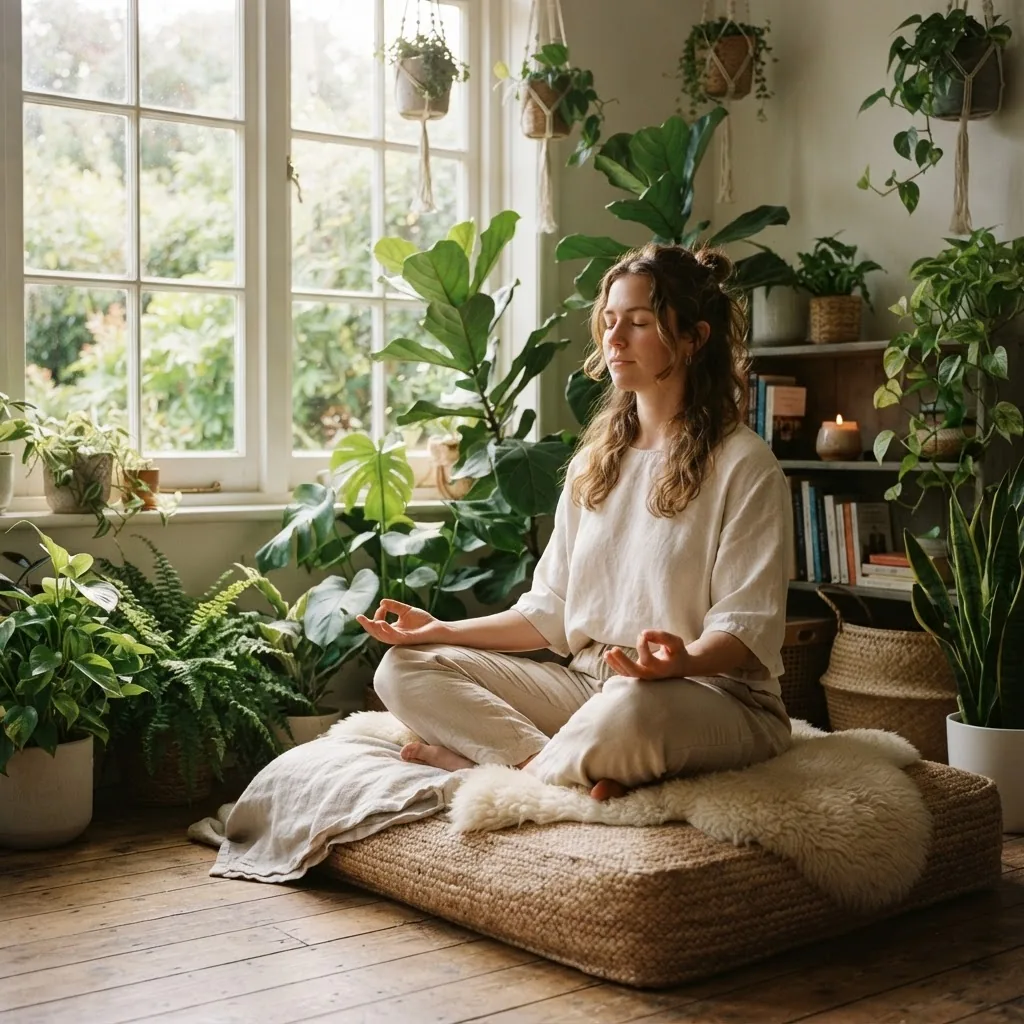
Guided visualisation is widely used in clinical and non-clinical settings—therapists, nurses and coaches use it to reduce anxiety before medical procedures, athletes use mental rehearsal for performance, and many people use it at bedtime to improve sleep. The practice is adaptable: you can follow a recorded script, work with a facilitator, or guide yourself aloud.
How Guided Visualisation Works to Promote Relaxation
Guided imagery activates the same sensory and emotional brain networks involved in real experience. When you vividly imagine sensory detail—soft sand underfoot, a distant gull call—your visual cortex, auditory cortex and limbic system respond. This sensory simulation triggers the relaxation response, shifting autonomic balance toward parasympathetic dominance and lowering physiological arousal.
Neurobiologically, repeated imagery can shape neural pathways through neuroplasticity: mental rehearsal strengthens circuits related to the imagined state. Practised imagery increases prefrontal regulation of emotional centers (e.g., amygdala), which supports emotion regulation and anxiety reduction. This mechanism underlies why athletes improve performance through mental rehearsal and why patients report symptom relief with healing imagery.
Psychologically, guided visualisation provides focused attention, structured narrative and sensory anchoring. Combined with gentle breath awareness, it interrupts rumination and catastrophic thinking by offering a concrete, controllable scenario the mind can explore. The result: decreased heart rate, lower cortisol, more coherent breathing patterns, and subjective calm.
Evidence examples: Mayo Clinic overview on guided imagery describes clinical applications and mechanisms; a 2021 randomized study (peer-reviewed journal) reported shorter procedure-related anxiety when guided imagery accompanied standard care (source type: randomized controlled trial).
Benefits of Guided Visualisation for Stress and Anxiety Relief
Guided visualisation offers multiple measurable and felt benefits for stress and anxiety. Below are concise benefits with supporting evidence notes and practical use cases.
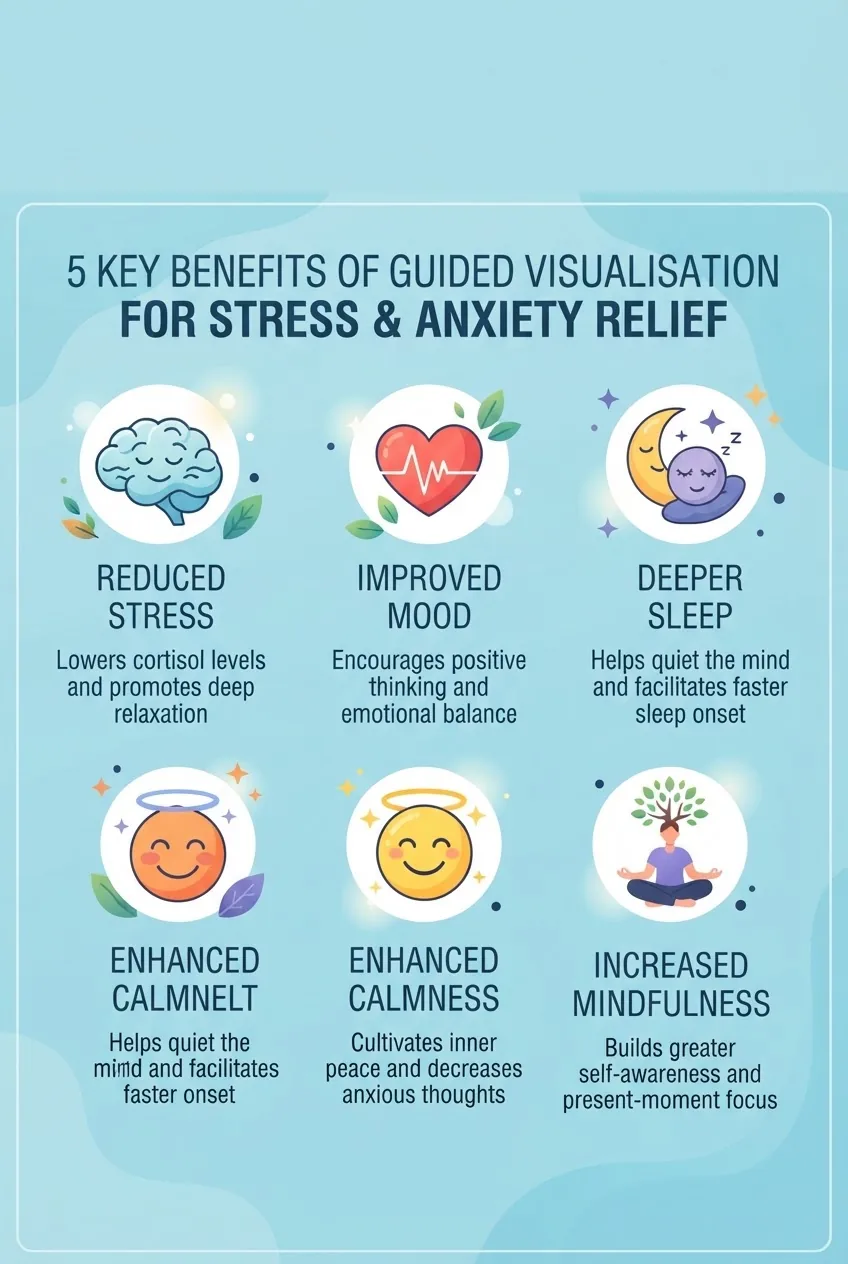
- Anxiety reduction: lowers state anxiety during and after sessions (source type: randomized controlled trials, 2018–2022).
- Stress management: evokes the relaxation response, reducing heart rate and subjective stress (source type: physiological studies, 2015–2023).
- Improved sleep: aids sleep initiation when used before bed (source type: sleep intervention trials, 2019).
- Emotional regulation: improves coping by rehearsing calming responses (source type: psychological intervention studies, 2020).
- Cognitive benefits: better concentration and decreased intrusive thoughts after regular practice (source type: cognitive-behavioural trials, 2021).
Guided imagery complements other approaches: as part of a stress toolkit it pairs well with progressive muscle relaxation, breathing exercises and movement. For broader treatment plans, consider combining guided imagery with therapy or lifestyle changes rather than relying on it alone. For related approaches, see mindfulness exercises for anxiety which places visualization among structured anxiety-management practices.
Guided visualisation also supports holistic approaches: link it with a consistent yoga practice for stress relief or use it before a restorative pose to deepen relaxation. For those seeking more intensive options after mastering basics, guided imagery is a strong foundational tool before moving to advanced anxiety management techniques or when comparing to non-pharmacological anxiety treatments.
Step-by-Step Guided Visualisation Exercises for Relaxation
These exercises are written as practitioner-grade scripts you can use verbatim. Each exercise lists time, posture, breath pattern and specific sensory prompts. Start with Exercise A (10 minutes), then progress to B (20 minutes) and C (30 minutes).
-
Settle and breathe: prepare the body (3 minutes)
Time: 3 minutes. Posture: seated or lying, knees supported. Action: close eyes if comfortable, rest hands on thighs or belly. Breath pattern: 4-count inhale, 6-count exhale; repeat 6 cycles. Focus on chest and belly rise. If attention drifts, note the thought and return to breath.
Tip: Use the breathing exercises for relaxation routines if breath pacing feels unfamiliar.
-
Safe place visualisation: grounding and calm (10 minutes)
Goal: activate sensory grounding and reduce acute anxiety. Total time: 10 minutes. Use this script to guide yourself or read aloud at ~120 words per minute.
Script (read slowly): “Begin by noticing your breath. Picture a safe place—perhaps a secluded beach or quiet garden. Visualise the sky’s colour, the texture underfoot, the warmth of sunlight or a cool breeze. Hear nearby sounds: gentle waves, leaves, birds. Pull in one deep, slow breath; imagine the air carrying calm into your chest. With each exhale imagine tension leaving your shoulders and jaw. Stay here for three full breaths, noticing sensations without judgement. If a worry appears, picture it as a small cloud drifting past; return to the safe place and your breath.”
Progression: After one week of daily 10-minute sessions you should extend stays to 5–8 minutes of deep immersion within the 10-minute block.
-
Body-scan imagery with warmth flow: release tension (20 minutes)
Goal: progressive relaxation using tactile imagery to relax muscle groups. Time: 20 minutes. Position: lying down recommended.
Script structure (approximate timings):
- Minutes 0–3: Settling and breath awareness (4 in / 6 out).
- Minutes 3–7: Feet to knees—imagine a warm golden light soothing the soles and ankles; notice temperature and weight.
- Minutes 7–11: Knees to hips—imagine warm light loosening muscles, like sun melting tension.
- Minutes 11–15: Torso and shoulders—invite deeper ease on each exhale, visualise breath as soft waves.
- Minutes 15–18: Neck and jaw—softening and release; imagine the jaw unclenching and shoulders dropping.
- Minutes 18–20: Whole-body integration—scan quickly, draw a full breath, and seal with 3 slow diaphragmatic breaths before gently returning.
Detail cue example for a segment: “As you breathe out, imagine warmth pooling at the top of your foot; feel it spread like warm honey up through your calf, releasing stiffness. Countless tiny muscles relax one by one.” Use tactile words (heavy, buoyant, warm) to deepen imagery.
-
Natural scene deep-immersion: multi-sensory rehearsal (30 minutes)
Goal: extended mindful imagery for restorative states and rehearsal of calm responses. Total time: 30 minutes. Format: facilitator-led or recorded recommended.
Core script elements: entry (5 minutes), immersive exploration (20 minutes), integration and journaling (5 minutes). Use concrete sensory anchors: smell of pine, crunch of gravel, the exact temperature of air. Encourage micro-details to sustain attention and reduce drift.
Integration journaling: immediately after the session, write 3 sensory details you remember and one felt shift (e.g., “shoulders lower,” “breathing slower”). This cements neuroplastic change.
-
Healing imagery: targeted symptom support (10–20 minutes)
Goal: supportive non-medical imagery to reduce symptom distress (pain, nausea, procedural anxiety). Time: 10–20 minutes as needed. Use concrete metaphors: cool blue light soothing an inflamed area, or a friendly team of cells clearing debris.
Clinical note: Use this technique as an adjunct to medical care—not a replacement. If you have serious medical concerns consult your clinician before relying on imagery for symptom control.
Each exercise above includes breath awareness to anchor attention. When learning, practice 3–7 times in a two-week period before judging effectiveness. Many people report changes in the first session; sustained benefits usually follow 2–6 weeks of regular practice.
Tips for Effective Mindful Imagery and Visualisation Practice
Use these practical tips to make your imagery practice reliable and personally effective. They address attention, sensory richness, consistency and troubleshooting.
- Set a clear intention: decide duration (10, 20 or 30 minutes) and outcome (calm, sleep, pain relief).
- Anchor with breath: always start with 3–6 diaphragmatic breaths; this synchronises physiology with imagery.
- Maximise sensory detail: name colors, textures, sounds, temperatures—sensory specificity strengthens neural enactment.
- Deal with distraction: label intrusive thoughts (“thinking”) and guide attention back to the next sensory cue; avoid judgement.
- Be consistent: practice daily for at least two weeks; schedule sessions at the same time to build habit.
- Use recordings for structure: recorded guided scripts maintain pace and reduce the cognitive load of self-guiding.
- Short practices help too: if pressed for time, use quick mindfulness practices or short meditation sessions as micro-anchors between longer imagery sessions.
Troubleshooting common issues:
- If your mind races: reduce imagery complexity; focus on one sensory detail for 1–2 minutes.
- If you feel sleepy but need alertness: shorten session to 5–7 minutes or practice seated with upright posture.
- If an image provokes strong emotion: pause, use grounding (5 senses exercise), and consider working with a therapist for trauma-linked imagery.
Guided Visualisation vs. Other Mindfulness and Meditation Techniques
The table below compares guided visualisation to other common practices so you can choose or combine methods based on outcome and preference.
| Practice | Primary focus | Best for | Trade-offs |
|---|---|---|---|
| Guided visualisation | Directed sensory imagery and narrative | Stress reduction, rehearsal, sleep | May require imagination skills; facilitator recommended for complex issues |
| Mindfulness meditation | Open, non-judgmental present-moment awareness | Long-term attention training, emotion regulation | Less structured; beginners may find mind-wandering challenging |
| Breath-focused exercises | Physiological regulation via breath | Rapid anxiety relief, autonomic balance | Short-lived without consistent practice |
| Progressive muscle relaxation | Muscle tension release via contraction/relaxation | Body tension, sleep initiation | Requires consistent practice; less imagery-based |
Summary: guided visualisation is more directive and sensory-rich than open mindfulness. It often gives faster subjective relief for situational anxiety and sleep problems, while mindfulness meditation builds attentional control over months. They are complementary—see the mental health benefits of meditation guide for an integrated approach.
Resources for Guided Visualisation: Scripts, Audio, and Apps
Below are resource types and recommendations for finding quality materials. For script libraries and recordings search reputable mental health and meditation platforms and prefer sources that indicate author credentials.
- Free scripts: look for university, hospital or therapist-hosted scripts that list author credentials; search “guided imagery scripts pdf” or consult the relaxation scripts guide for templates.
- Recordings & apps: choose apps that disclose teacher qualifications and secular focus; use headsets for better immersion.
- Script archives: consult curated archives like the Guided Meditation Script Guide with templates (see guided meditation scripts).
- When to pick facilitated sessions: for trauma-related imagery or persistent anxiety, a registered therapist or clinical facilitator is recommended.
Common mistakes and how to avoid them
From my practice I observed these common failures and how I corrected them.
I used to give people overly complex imagery; they would mentally spin out. I learned to simplify: choose one sensory anchor (e.g., the feeling of warm sand) and extend it for several breaths. I also noticed people trying to force vivid images; I shifted them to accept low-vividness and rely on other senses (sound, texture) which reliably engage the relaxation response.
I once recommended long nightly sessions to someone who became sleep-deprived because evening imagery triggered rumination. The fix was to move sessions earlier or shorten to 10 minutes, and add grounding (5-4-3-2-1 senses) at the end.
Checklist: Verify your guided visualisation practice
- Session length chosen: 10 / 20 / 30 minutes (circle one).
- Breath anchoring used for first 3 minutes (4 in / 6 out recommended).
- Sensory anchors listed (visual, auditory, tactile; at least two used).
- Post-session journaling: 3 sensory notes + 1 felt shift completed.
- Consistency plan: daily for 14 days scheduled on calendar.
When to call in a professional
Consult a licensed mental health professional if guided visualisation repeatedly triggers intense distress, flashbacks, dissociation, or if anxiety symptoms worsen despite consistent practice. For procedural anxiety or pain management in medical settings, ask your clinician about integrating guided imagery into care. For medication questions, consult a prescriber rather than substituting imagery for advised pharmacotherapy.
For structured breath techniques that pair perfectly with imagery, see breathing exercises for relaxation and for grounding meditations that complement imagery visit the guided grounding guide.
Conclusion
Guided visualisation is a practical, sensory-led relaxation tool you can begin today: start with 10-minute safe-place scripts, anchor with breath, and practice daily for at least two weeks. Use the exercises, troubleshoot as suggested, and combine imagery with breathwork or yoga to deepen results. If symptoms persist or imagery causes distress, contact a mental health professional.
Ready to begin? Pick one script above, set a 10-minute timer, and follow the sequence: settle, breathe, visualise, integrate. If you want guided audio or structured templates, explore the resources listed above and consider professional facilitation for complex needs.