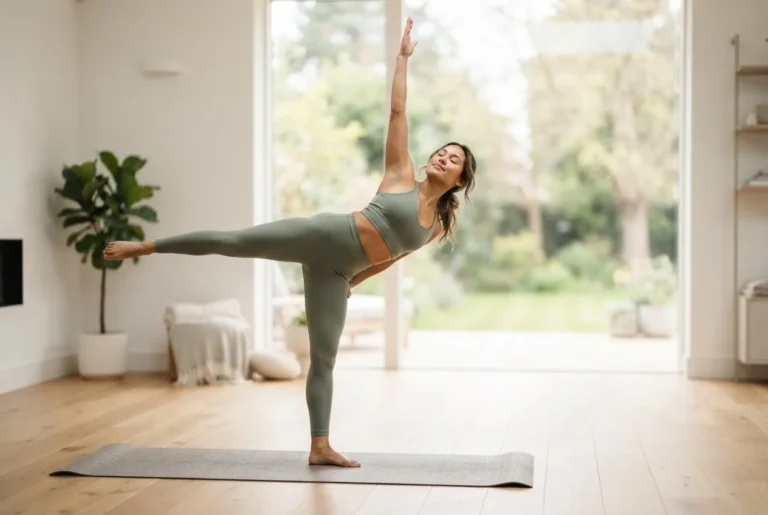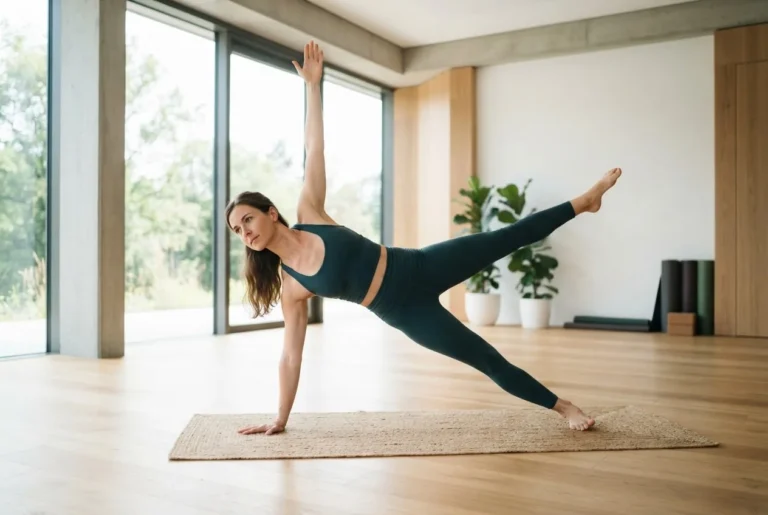
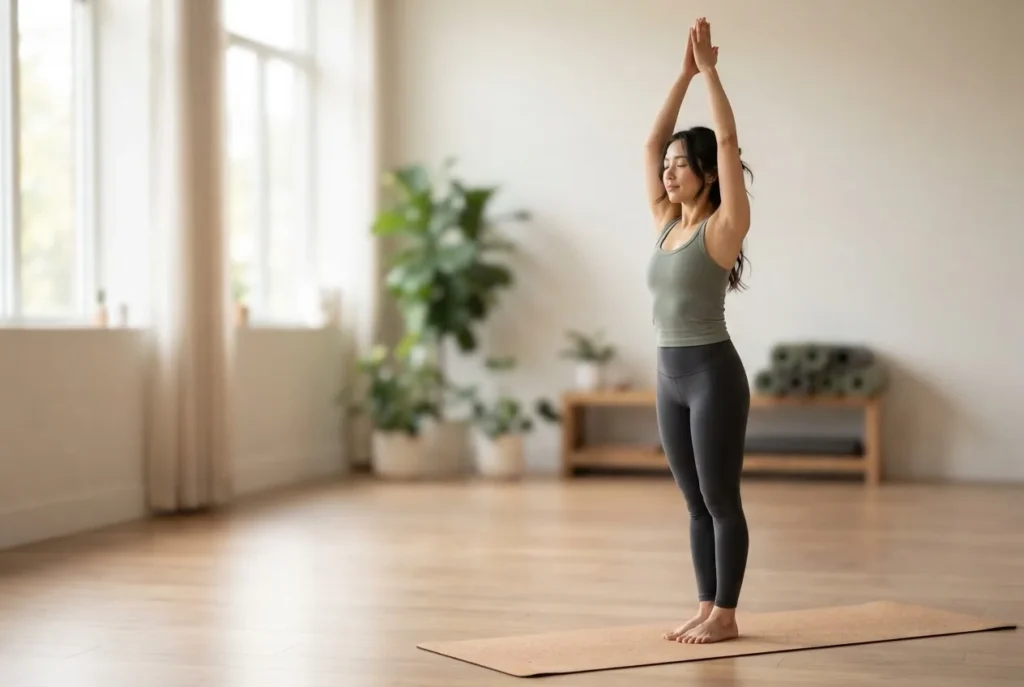
Yoga exercises you can learn from this guide: by the end you’ll be able to perform a core set of beginner poses, run a 20–30 minute home practice, and use basic breathwork safely. Time required to start seeing results: expect measurable flexibility and calm in 4–8 weeks with 3 sessions per week; skill level: complete beginner.
- Yoga mat (4–6 mm thick), two blocks, strap, towel
- Space: 2 m × 2 m clear area, non-slip floor
- Clothing: breathable, non-restrictive—tops and shorts/leggings
- Timing: pick 15–30 minute slots, ideally morning or evening
- Health check: consult your GP if you have cardiovascular disease, uncontrolled hypertension, recent surgery, or pregnancy complications
Introduction to Yoga Exercises for Beginners
This Introduction to Yoga Exercises for Beginners explains what yoga practice means at a starter level, the immediate benefits you can expect, and how simple habits create long-term change. Yoga blends physical postures (asanas), breath control (pranayama = breathing techniques), and mindful attention: together these create better mobility, stress regulation, and consistent energy levels. For a focused look at how mindful movement reduces worry, see the evidence-based peer-reviewed review on yoga and mental health.
Beginner yoga poses are selected to build balance, joint range of motion, and awareness of safe alignment. In practice you will learn how to find neutral spine, how to hinge at hips instead of rounding the lower back, and how to use props to make poses accessible. A practical sequence repeated 3× per week yields measurable improvements: according to a 2023 peer-reviewed systematic review, regular yoga correlates with reduced anxiety symptoms in many study populations (source: peer-reviewed journal).
Mindfulness is a core benefit of yoga: if anxiety relief is your priority, combine these movement practices with short seated or breathing meditations. For structured quick practices that pair well with short sessions, try the quick mindfulness techniques and the short meditation practices, which are excellent complements to brief standing or seated sequences.
If you want research on yoga specifically for anxiety, read benefits of yoga for anxiety. For pragmatic beginner tips and an accessible home plan, continue through this hands-on guide—each section includes safe modifications and practitioner-tested tricks.
Essential Basic Yoga Poses for Beginners
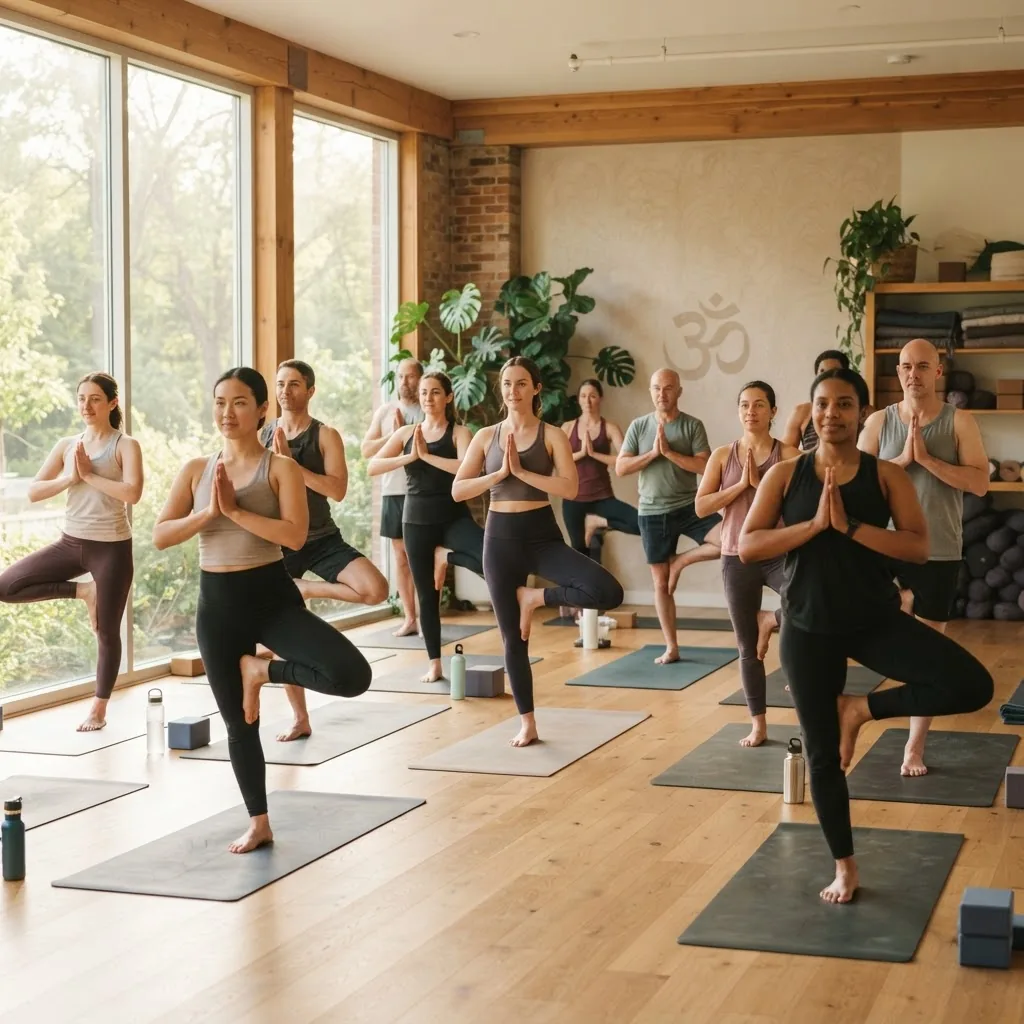
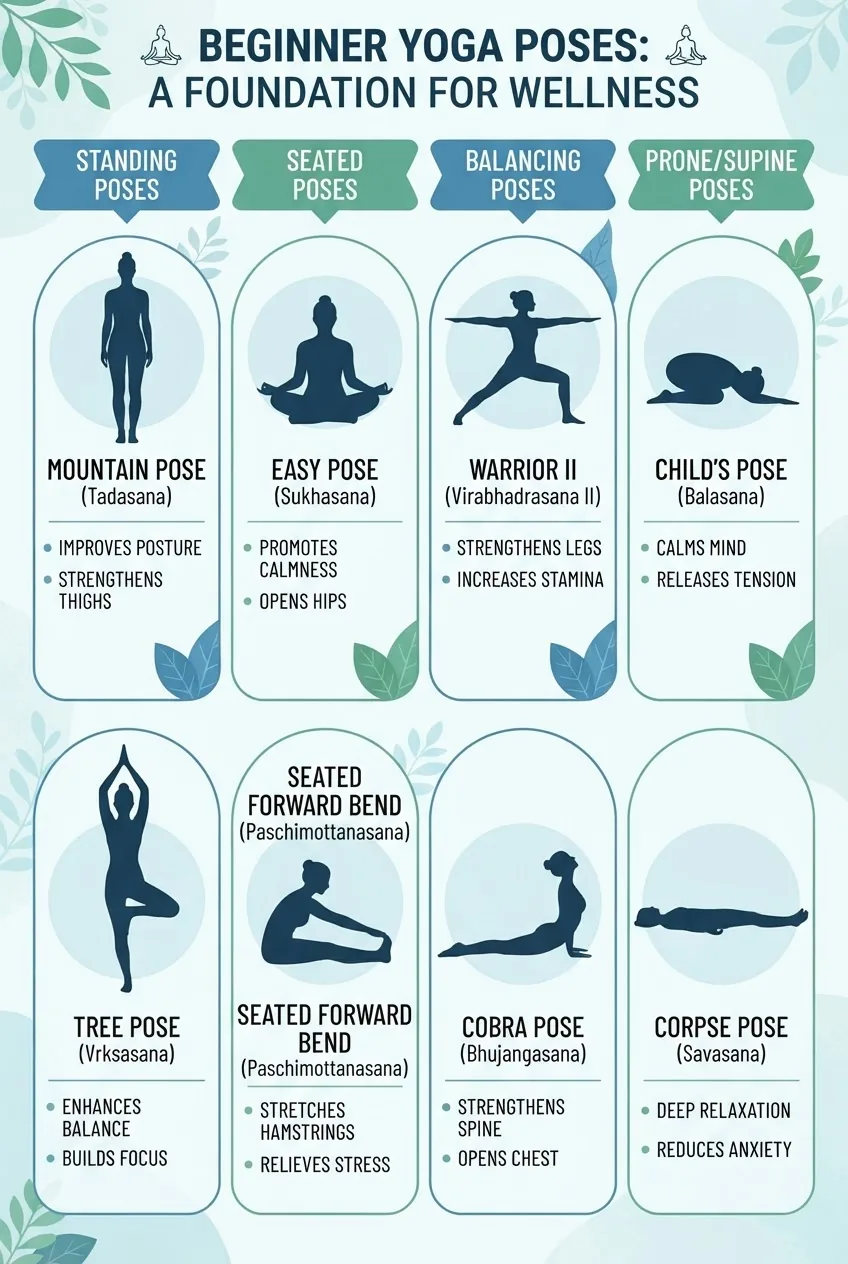
Below are foundational beginner yoga poses grouped by category. Each entry lists the pose name, short benefits, and clear step-by-step actions with alignment cues and common, safe modifications. Aim to learn 8–10 of these poses thoroughly before expanding your repertoire.
Standing Poses (e.g., Mountain Pose, Warrior I)
-
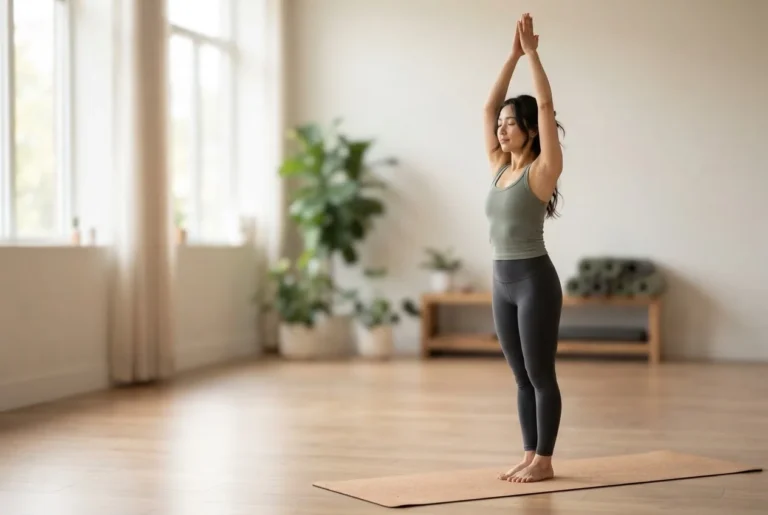
Mountain Pose (Tadasana)
Benefits: foundational alignment, posture, breathing mechanics.
Steps:- Stand with feet hip-width or together; distribute weight evenly across four corners of each foot.
- Engage thighs lightly, lengthen tailbone toward floor, lift chest without flaring ribs.
- Relax shoulders down; breathe 5–10 deep breaths, noticing inhalation expansion in ribs and abdomen.
Modifications: If balance is shaky, stand with feet hip-width apart and practice near a wall.
-
Warrior I (Virabhadrasana I)
Benefits: builds leg strength, hip mobility, and stability.
Steps:- From standing, step one foot back ~1.0–1.2 m, front knee stacked over ankle.
- Rotate back foot slightly inward ~20°, square hips forward, bend front knee to 90° if possible.
- Reach arms overhead, soften shoulders, lengthen through the spine; hold 3–5 breaths.
Modifications: Shorten stride, place hands on hips, or keep hands on blocks at your sides to avoid lumbar overextension.
-
Standing Forward Fold (Uttanasana)
Benefits: hamstring release, calming nervous system.
Steps:- From mountain, hinge at hips, lead chest toward thighs; micro-bend knees to protect lower back.
- Let head hang heavy; hold for 3–8 breaths, inhale to lengthen and exhale fold deeper.
Modifications: Use blocks under hands or sit on a folded blanket to reduce stretch intensity.
-
Chair Pose (Utkatasana) — Starter Variation
Benefits: strengthens glutes, quads, and core while practicing breath control.
Steps:- From mountain, bend knees slightly as if sitting back into a chair, weight in heels, knees behind toes.
- Reach arms forward or up; hold 3–5 breaths, ensuring spine stays long.
Modifications: Keep outer hips leaning toward a wall to practice alignment with support.
Seated Poses (e.g., Easy Pose, Seated Forward Bend)
-
Easy Pose (Sukhasana)
Benefits: prepares the body for breathwork and meditation; opens hips gently.
Steps:- Sit cross-legged on a low cushion or folded blanket to raise hips above knees; lengthen spine.
- Place hands on knees, soften shoulders, breathe for 1–5 minutes focusing on even inhale/exhale.
Modifications: Sit on a chair if hips are tight or knees uncomfortable.
-
Seated Forward Bend (Paschimottanasana)
Benefits: lengthens the spine and hamstrings; aids digestion and relaxation.
Steps:- Sit with legs extended, flex feet; inhale long spine, exhale hinge at hips moving chest toward thighs.
- Hold strap around feet if hands can’t reach; keep a micro-bend in knees if needed.
Modifications: Bend knees and use strap; stop where you feel a strong but comfortable stretch.
-
Seated Twist (Ardha Matsyendrasana — gentle)
Benefits: mobilizes the spine and supports digestion.
Steps:- From seated, bend right knee and place right foot outside left thigh; left knee may stay bent or extended.
- Inhale lengthen spine; exhale twist to the right, leading with the chest, not the chin. Hold 3 breaths each side.
Modifications: Keep both knees soft; place hand behind for support and twist only as far as comfortable.
Balancing Poses (e.g., Tree Pose)
-
Tree Pose (Vrikshasana)
Benefits: improves proprioception, ankle strength, and concentration.
Steps:- Stand in mountain. Shift weight into left foot, micro-bend left knee.
- Place right foot on inner left calf or ankle (avoid knee); hands at heart or overhead.
- Fix a gaze point, breathe 5–8 breaths, then switch sides.
Modifications: Use a wall or chair for balance; keep toes on floor and only touch with heel.
-
Balance Prep: Heel-to-Toe Walk
Benefits: builds the small stabilizer muscles used in standing balance poses.
Steps:- Walk 10 steps heel-to-toe, then return; repeat twice slowly focusing on steady breath.
Modifications: Do near a wall for safety.
Supine and Prone Poses (e.g., Child’s Pose, Cobra Pose)
-
Child’s Pose (Balasana)
Benefits: rest pose for calming the nervous system and stretching the back.
Steps:- Kneel, bring big toes together and knees hip-width; sit back toward heels and fold forward.
- Extend arms forward or alongside body; rest forehead on a block or the mat. Breathe deeply for 5–30 breaths.
Modifications: Widen knees to make room for the belly or place a blanket between calves and thighs.
-
Cobra Pose (Bhujangasana) — gentle
Benefits: opens chest, strengthens upper back, counters forward-folding postures.
Steps:- Lie prone, hands under shoulders, elbows tucked. Inhale to slide chest forward and up with length through the spine.
- Only lift as high as you can without compressing lower back; hold 3–5 breaths.
Modifications: Keep elbows bent (Sphinx) or lift less high to protect lumbar spine.
-
Supine Knee-to-Chest
Benefits: releases low back tension and prepares hips for seated poses.
Steps:- Lie on back, hug knees to chest one at a time, then both. Rock gently side to side for 6–8 breaths.
Modifications: Use a strap behind thighs if hands don’t reach.
For notes on the physical benefits linked to strength and conditioning through these poses, read about the strength-building benefits of yoga, which discusses how simple standing poses engage large muscle groups over time.
Step-by-Step Guide to Developing a Beginner Yoga Practice
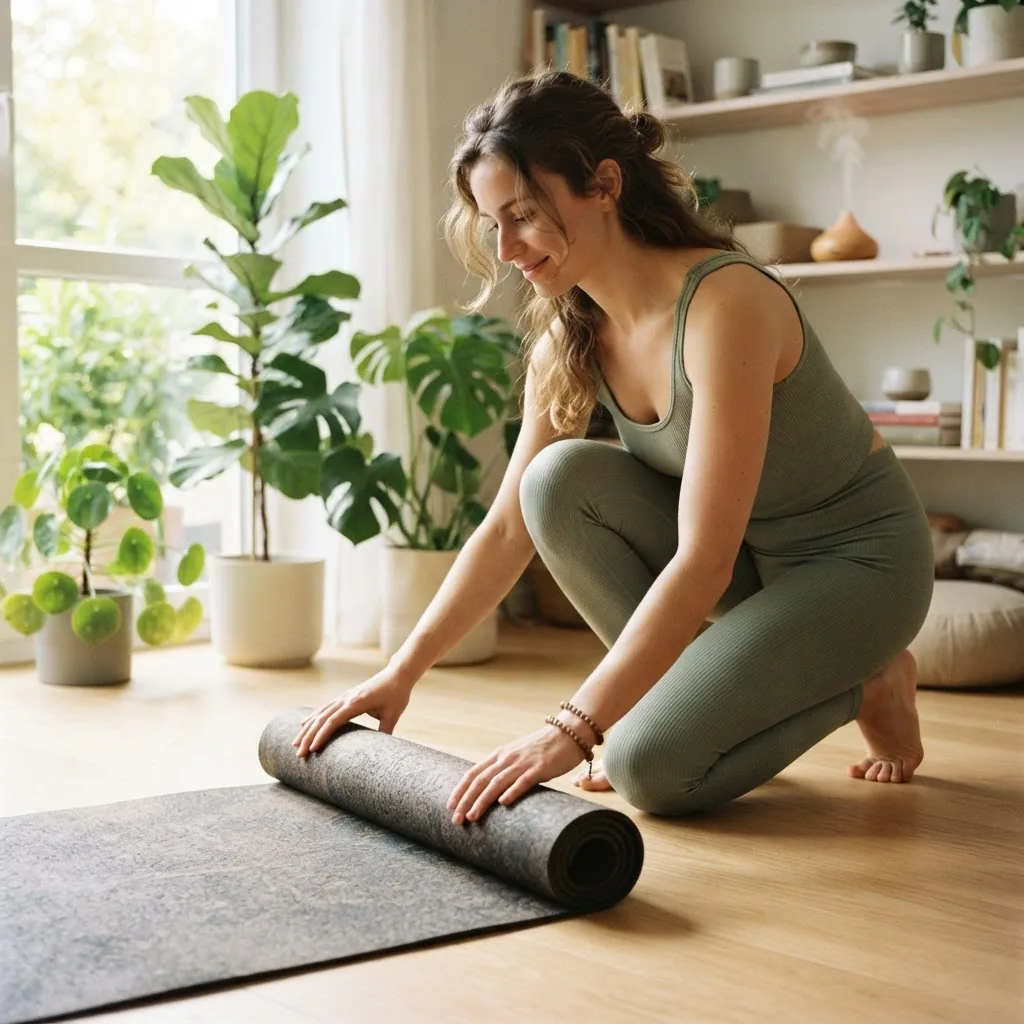
This section is the hands-on plan: numbered steps with action-first openings to help you set frequency, build a sequence, and progress safely. Each step is concrete: lengths, reps, and progression markers are named so you can measure progress.
- Decide your weekly schedule: commit to 3 sessions/week (20–30 minutes) for 8 weeks. Use calendar blocks on Mon/Wed/Fri or Tue/Thu/Sat—consistency beats occasional long sessions. Track sessions in a simple notebook: date, duration, two notes (one on alignment, one on breath).
-
Set a realistic session structure: follow a 20-minute template:
- Warm-up (4 minutes): Cat/Cow 6 rounds, gentle hip circles, shoulder rolls.
- Main sequence (12 minutes): 6 standing poses (30–60 sec each), 2 balancing (3–5 breaths each), 2 seated (1–2 minutes total), 1 prone/supine (1–3 minutes).
- Closing (4 minutes): seated breathwork (2 minutes), supine relaxation (2 minutes).
Tools: timer set to 20 minutes, one block and strap within reach.
- Learn alignment basics: focus on neutral spine, knee stacked over ankle in lunges, hip hinge for forward folds, and micro-bending knees when hamstrings are tight. Practice Tadasana daily for 1–2 minutes to calibrate standing alignment.
- Practice progressive overload safely: when a pose feels stable for 3 consecutive sessions, increase hold time by 20–30% or add one additional repetition. Example: Tree Pose 5 breaths → 6–7 breaths. Do not force deeper positions; instead, increase breath count or add repetitions.
- Use props the first 6–8 weeks: blocks under hands in forward folds, strap for seated hamstring stretches, and a cushion for seated poses. Props build joint-friendly strength and teach alignment without strain.
- Include breathwork each session: begin with 1–2 minutes of diaphragmatic breathing (inhale 4, exhale 6 seconds) to cue the parasympathetic nervous system. Track resting breath rate before and after practice; a 1–3 bpm reduction over weeks is a useful progress marker.
- Record one practical metric: choose either balance time (how long you can hold Tree Pose), forward fold reach (cm toward toes), or perceived stress on a 1–10 scale pre/post session. Re-measure every 2 weeks.
- Build a personalized sequence: once you know 8–10 poses, create two sequences: a “morning energiser” (dynamic Sun Salutation variations, Chair Pose, Warrior I) and an “evening wind-down” (gentle forward folds, supported bridge, legs-up-the-wall). Swap weekly to avoid plateau.
- Progress to 30–45 minutes when ready: after 8–12 weeks of consistent practice, extend sessions by 10 minutes, adding longer holds (5–10 breaths) and one additional balance or strength posture. If you want a guided progression program, try a structured 30 day yoga challenge.
- Practice safely at home: always warm up and end with supine relaxation. For guided learning on setting up a home practice, refer to how to do yoga at home for space layout, lighting, and pacing tips.
Case example: Anna, age 34, began with 15-minute sessions three times weekly using the 20-minute template above. After six weeks she increased to 25 minutes and reported lower sleep latency and increased hip mobility. Her objective metrics: Tree Pose hold improved from 10s to 35s and perceived stress dropped from 7 to 4 on a 10-point scale.
I often saw students rush entry into deep stretches; I taught them to count breaths and use blocks. Another common error was holding breath during difficult postures; we corrected this with breath-count drills (inhale for 4, exhale for 6) to restore calm and protect the low back.
Breathing Techniques and Mindful Movement in Yoga for Beginners
Breathwork (pranayama) and mindful movement are the bridge between exercise and stress-resilience. The breathing methods below are simple, safe, and designed for new practitioners. Where research helps, I cite it: a peer-reviewed review links yoga breathing to improvements in anxiety measures in several small trials (source: peer-reviewed journal).
- Diaphragmatic breathing — Lie supine with one hand on belly. Inhale 4s (belly rises), exhale 6s (belly falls). Repeat 6–10 cycles. Use at start and end of practice to lower heart rate.
- Box breathing — Inhale 4s, hold 4s, exhale 4s, hold 4s. Repeat 4 cycles. Great for pre-practice focus.
- Ujjayi breath (victorious breath) — Slight constriction at the back of the throat to create a soft sea-sound on exhale. Use during standing sequences to coordinate movement and breath.
- 4-6-8 calming method — Inhale 4s, exhale 6s, pause 2s. Repeat 5 cycles. Helpful for acute stress or pre-sleep.
Pair breath with movement: inhale to expand and lengthen, exhale to fold, twist, or stabilize. This synchronization reduces unnecessary muscular tension and trains your nervous system to respond calmly in stressful moments.
Complementary resources: use quick mindfulness techniques for immediate focus, short meditation practices to build attention skills, and consult the breathing meditation exercises for relaxation-focused sequences. Research on meditation’s mental health effects is summarized in mental health benefits of meditation.
Practice tips:
- Start breathwork seated or supine for safety — 1–3 minutes initially, extending up to 10 minutes as tolerance builds.
- Use a timer with gentle chime; avoid strenuous breath retention in first 4–6 weeks.
- If you feel lightheaded, return to natural breathing and sit quietly until stable.
Common Mistakes and How to Avoid Them in Beginner Yoga
New practitioners commonly make technique and sequencing errors that slow progress or increase injury risk. Below are the frequent mistakes I observe and clear solutions you can apply immediately.
- Rushing into flexibility: Mistake — forcing deeper forward folds and straining hamstrings. Solution — perform 3 sets of dynamic hamstring warm-ups, keep knees micro-bent in standing folds for 6–8 weeks, and use blocks at shin height. Follow progressive increments: increase reach by 1–2 cm per week rather than days.
- Holding breath in challenging poses: Mistake — breath-holding tightens muscles and compresses the spine. Solution — practice timed breath (inhale 4, exhale 6) during holds; speak the count aloud to train rhythm.
- Poor knee alignment in lunges and Warrior poses: Mistake — letting the knee collapse inward or pass the toes. Solution — ensure knee tracks over the second toe and keep front shin vertical; place a mirror or record short clips to self-correct. Use a line on the floor for foot placement until muscle memory develops.
- Ignoring low back safety: Mistake — overarching or rounding without hip hinge. Solution — in forward folds hinge at hips first, maintain length through the front torso, and practice hip hinge drills (hold chair and tilt pelvis) for 2 minutes daily.
- Skipping rest and recovery: Mistake — daily intense pushing causes stagnation. Solution — program at least one full rest day weekly and include Child’s Pose or restorative inversions once per session. Focus on breath-counted relaxation for 2–3 minutes post-practice.
- Using the wrong props or misusing them: Mistake — placing blocks too high/low leading to poor alignment. Solution — learn three common block heights (flat, on side, on end) and test each in forward fold and seated positions to find the right level.
-
Not consulting health professionals for conditions: Mistake — continuing practice unchanged with medical limitations. Solution — always consult a GP or physiotherapist for recent injuries, chronic conditions, or pregnancy; they can advise safe modifications.
advanced stress relief tools
For formal pose safety guidelines, review recommendations from established organizations like Yoga Alliance which outlines teacher standards and safe sequencing considerations (source: reputable yoga organization).
Equipment and Environment Tips for Beginner Yoga Practice
A simple setup reduces friction and increases adherence. Use the list below to build a beginner-friendly practice space and portable kit.
- Yoga mat: 4–6 mm thickness offers cushioning with stability; non-slip texture if you sweat. Budget: $20–$60.
- Blocks: foam or cork; two blocks allow for variable height — use them under hands for forward folds and under hips for seated poses.
- Strap: 2 m yoga strap for hamstring and shoulder assists; loop around foot in Seated Forward Bend to maintain neutral spine.
- Blanket: folded blanket for knee support in kneeling poses and for elevating hips in seated postures.
- Lighting & noise: choose soft natural light and quiet; if needed use noise-cancelling headphones for guided sessions.
- Climate: practice at comfortable room temperature (18–24°C); avoid slippery surfaces.
Space layout tip: position mat so your long edge faces the main light source; this makes balancing poses easier with a visible horizon (helps focus and proprioception). A small plant or candle can cue relaxation and habit formation.
If you have budget constraints, prioritize mat and blocks first; other items can be improvised with household objects (firm books for blocks, belt for strap, towel for blanket).
Conclusion and Encouragement for Your Yoga Journey
You now have a hands-on plan: clear poses, a weekly practice structure, breath techniques, and safety checks to begin a consistent home practice. Progress is gradual—treat improvements in balance, flexibility, or stress as the real milestones. Check your practice against the list below weekly and adjust duration or frequency to keep progress steady.
Always remember: yoga complements medical care but does not replace it. For medication information or decisions about combining treatments, consult clinical sources such as anti-anxiety medications overview and professional advice, and consider talking with mental health services about therapy options for anxiety.
Final encouragement: treat days missed as data, not failure. Yoga is like learning to ride a bike—consistency and small, measurable steps bring freedom and confidence. If you’re ready, commit to 8 weeks of the 3×/week plan and review your logged metrics: balance time, forward reach, and perceived stress.
- 3 sessions per week logged for 8 weeks
- Know 8–10 poses with at least one safe modification for each
- Practice breathwork 1–2 minutes per session
- Use props (blocks/strap) during 75% of sessions for alignment
- Track one objective metric (balance, reach, or stress) every 2 weeks
- Acute sharp joint pain during a pose—stop and consult a GP or physiotherapist.
- Unexplained dizziness or chest pain—seek immediate medical advice.
- Pregnancy beyond 12 weeks with complications—get tailored prenatal yoga from a certified teacher.
- Persistent increase in anxiety or panic—combine practice with clinical care and consider evidence-based treatments.