
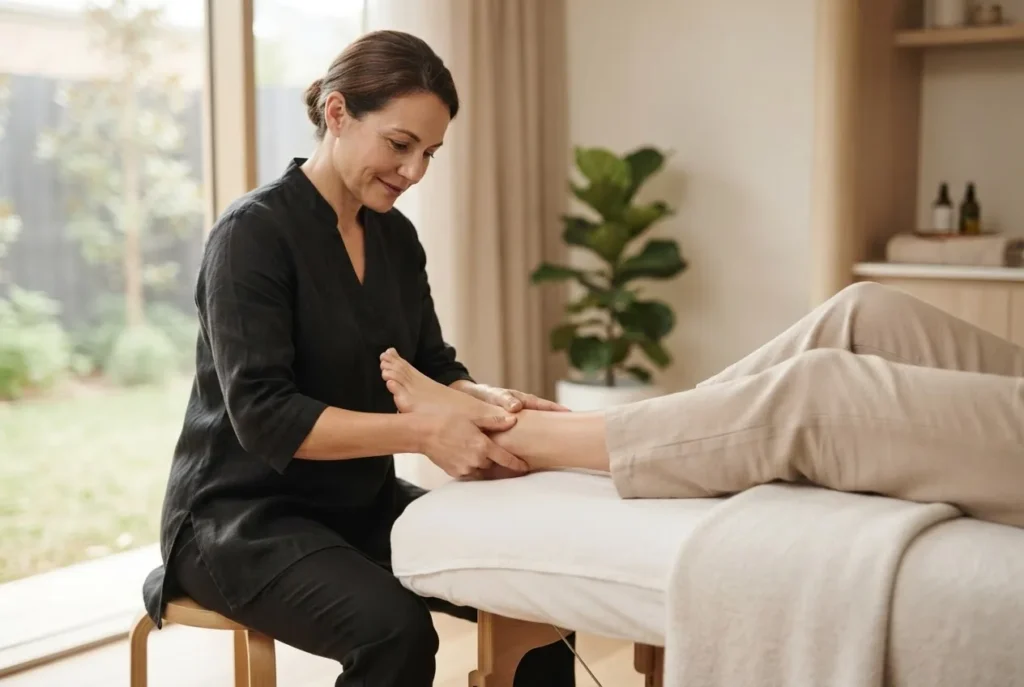
By the end of this hands-on guide you will be able to locate and treat the main acupressure points in ankle, perform safe self‑acupressure for common ankle complaints in a 10–25 minute routine, and understand how those points connect to foot meridians and Qi flow. Time required: one 30‑minute learning session plus 10–25 minute treatments. Skill level: beginner to intermediate — suitable for self‑care and clinical support.
Introduction to Acupressure Points in the Ankle
This practical introduction explains the rationale and immediate goals for working with ankle acupressure. You’ll learn basic acupressure basics, relevant ankle anatomy, and how Traditional Chinese Medicine (TCM) meridians route through the ankle to influence systemic Qi flow. The focus is strictly the ankle zone — not generic foot acupressure — so you can apply targeted pressure points for ankle pain, swelling and mobility.
In addition to step‑by‑step techniques you’ll find a detailed foot diagram acupressure section (with an infographic), clinical notes on meridian points feet and an evidence‑aware summary of benefits and precautions. If you decide to progress from self‑care to formal study, see Acupuncture Acupuncturist Training and Certification Guide.
Overview of Foot and Ankle Meridians Relevant to Acupressure
The ankle sits at a confluence of several important meridians. Understanding these meridians of the foot clarifies why ankle points can influence local pain and distant organs: meridian pathways carry Qi (energy) and blood, and blockages or stagnation can present as pain or swelling at joint sites. Below is an accessible map of which meridians cross the ankle and their clinical relevance.
- Bladder meridian (BL) — runs along the posterior calf and lateral/medial ankle; key for low‑back referral and posterior ankle pain.
- Kidney meridian (KI) — curves around the medial malleolus; used for swelling and tendon‑related complaints near the medial ankle and for constitutional conditions linked to the kidneys in TCM.
- Liver meridian (LV) — passes the dorsum and lateral ankle; relevant for tension, cramps, and ligament strain patterns.
- Stomach and Spleen meridians (ST/SP) — influence the anterior and medial ankle region; useful in addressing inflammation and dampness that manifests as swelling.
For a study reference that visually maps the 12 primary channels, consider downloading the canonical chart: Download 12 Meridians Chart PDF Guide. That chart is especially helpful when you are correlating ankle points with nearby meridian trajectories for treatment planning.
Transition: now that meridian lines and their clinical roles are clear, we’ll map specific ankle points and provide a full ankle‑focused foot acupressure points chart with descriptions and uses.
Detailed Acupressure Points in the Ankle Chart with Descriptions
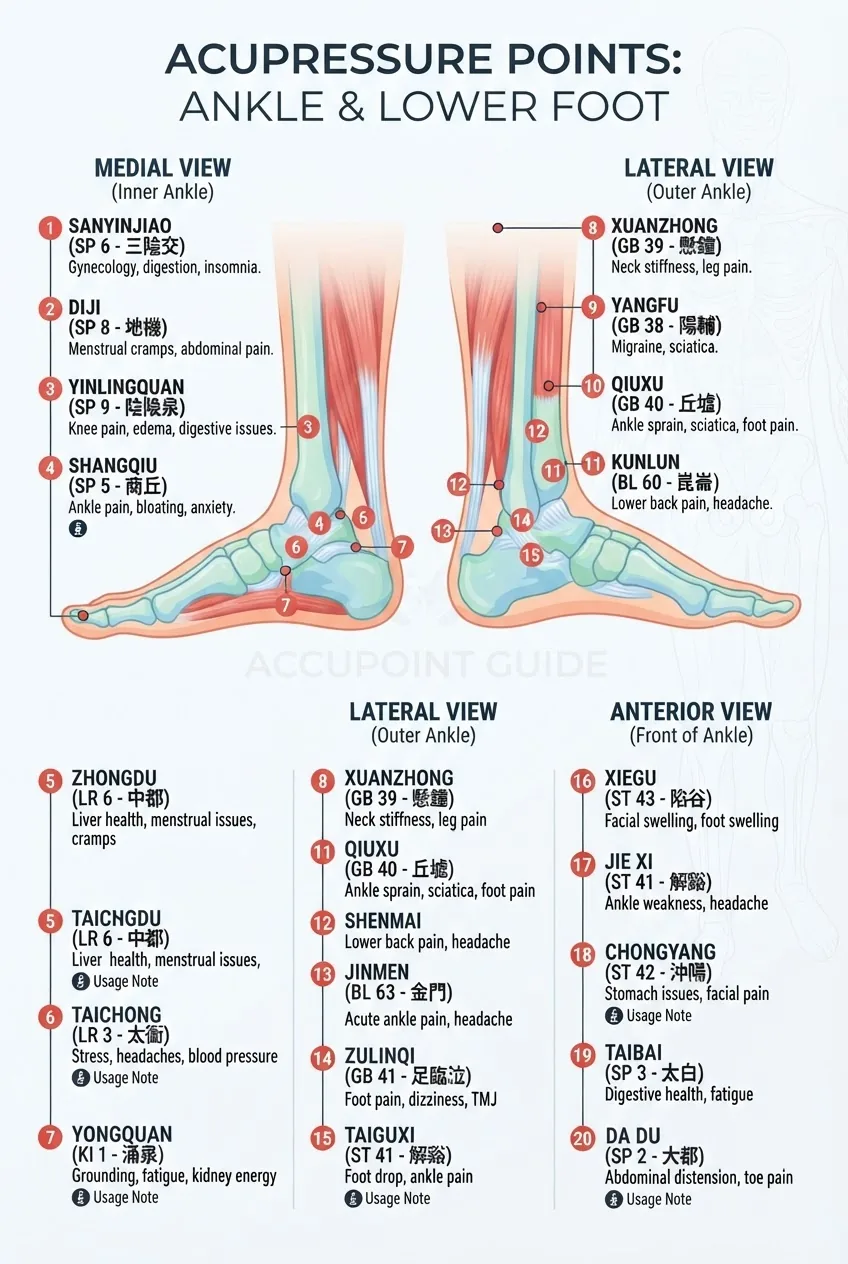
Below is a numbered, practitioner‑style chart of the most clinically useful pressure points in the ankle area. Each entry lists point name (English and TCM designation), exact landmark, meridian association, typical uses, recommended pressure and safety notes. For an expanded printable diagram see Foot Acupuncture Points Chart PDF.
-
BL60 — Kunlun (Between the malleolus and Achilles)
Landmark: in the depression between the tip of the lateral malleolus and the Achilles tendon when the ankle is plantarflexed. Meridian: Bladder meridian. Uses: acute lateral ankle pain, limited dorsiflexion, lower back referral. Pressure: firm thumb pressure for 30–60 seconds; avoid in pregnancy. Safety: avoid deep needle techniques unless trained.
-
BL62 — Shenmai (Just below the lateral malleolus)
Landmark: in the depression approximately 0.5–1 cun (palpated finger width) inferior to the lateral malleolus. Meridian: Bladder channel divergent. Uses: ankle sprain aftercare, gait disturbance, calming excess yang. Pressure: circular fingertip pressure 20–40 seconds, repeat 2–3 times.
-
KI3 — Taixi (Posterior to the medial malleolus)
Landmark: in the depression between the medial malleolus and the Achilles tendon. Meridian: Kidney meridian. Uses: medial ankle pain, swelling due to ‘kidney deficiency’ patterns in TCM, chronic tendon complaints. Pressure: sustained thumbs with 25–40 seconds per side; match pressure to tolerance.
-
KI6 — Zhaohai (Below the medial malleolus, anterior)
Landmark: 1 cun below the medial malleolus on the medial border of the tibia. Meridian: Kidney channel (confluent point of Yin Qiao). Uses: regulatory point for ankle instability, ligament laxity and nocturnal cramping. Pressure: gentle kneading 30 seconds, then a light traction of the foot for 10 seconds.
-
SP5 — Shangqiu (Anterior to the medial malleolus)
Landmark: in the depression anterior and inferior to the medial malleolus. Meridian: Spleen. Uses: reduces local swelling, resolves dampness-related ankle edema. Pressure: moderate circular pressure 20–30 seconds; combine with elevation and lymphatic techniques.
-
ST41 — Jiexi (Anterior ankle joint center)
Landmark: on the dorsum of the ankle in the depression at the midpoint of the transverse crease of the ankle joint, between the tendons of extensor digitorum longus and extensor hallucis longus. Meridian: Stomach. Uses: anterior ankle pain, restricted dorsiflexion, sprain recovery. Pressure: gradual build to moderate for 20–30 seconds.
-
GB40 — Qiuxu (Approximately anterior and inferior to lateral malleolus)
Landmark: in the depression anterior and inferior to the lateral malleolus. Meridian: Gallbladder. Uses: lateral ankle instability, tendon tension, and ligament pain. Pressure: circular fingertip or knuckle pressure for 30 seconds; follow with light range of motion.
-
LV3 — Taichong (Dorsum, used in combination for ankle tension)
Landmark: on the dorsum of the foot, in the depression distal to the junction of the 1st and 2nd metatarsal bones — included because of its regulatory effect on Qi across the foot and ankle. Meridian: Liver. Uses: general pain modulation, muscle tension relief. Pressure: firm thumb pressure 20–40 seconds; often paired with KI3.
-
Extra Point: Ankle Local Tender Point (Ashii)
Landmark: any local most‑tender point identified by palpation around the malleoli or ligament insertions. Meridian: variable. Uses: focal pain relief. Pressure: direct sustained pressure at a comfortable but definite intensity for 30–90 seconds; reassess mobility.
-
Dorsal Web Points — Between toes (adjunct for distal ankle referral)
Landmark: web spaces between toes, particularly between the first and second toes (for anterior ankle patterns). Uses: improves circulation to the ankle and can modulate pain via distal stimulation. Pressure: moderate pinching or kneading 10–20 seconds per web space.
Transition: below we move from the point map to precise hands‑on steps — how to find these landmarks reliably and apply pressure safely for self‑treatment or as part of a session.
How to Locate and Apply Pressure to Ankle Acupressure Points
Before you begin, gather basic tools and position the patient or yourself for safety and accuracy.
- Quiet, well-lit chair or treatment table and a soft towel for ankle support
- Small tennis ball or acupressure tool (optional) for graduated pressure
- Clock or timer (use 20–60 second intervals)
- Clean hands, trimmed nails, and lubricant (aloe or light oil) if skin friction is an issue
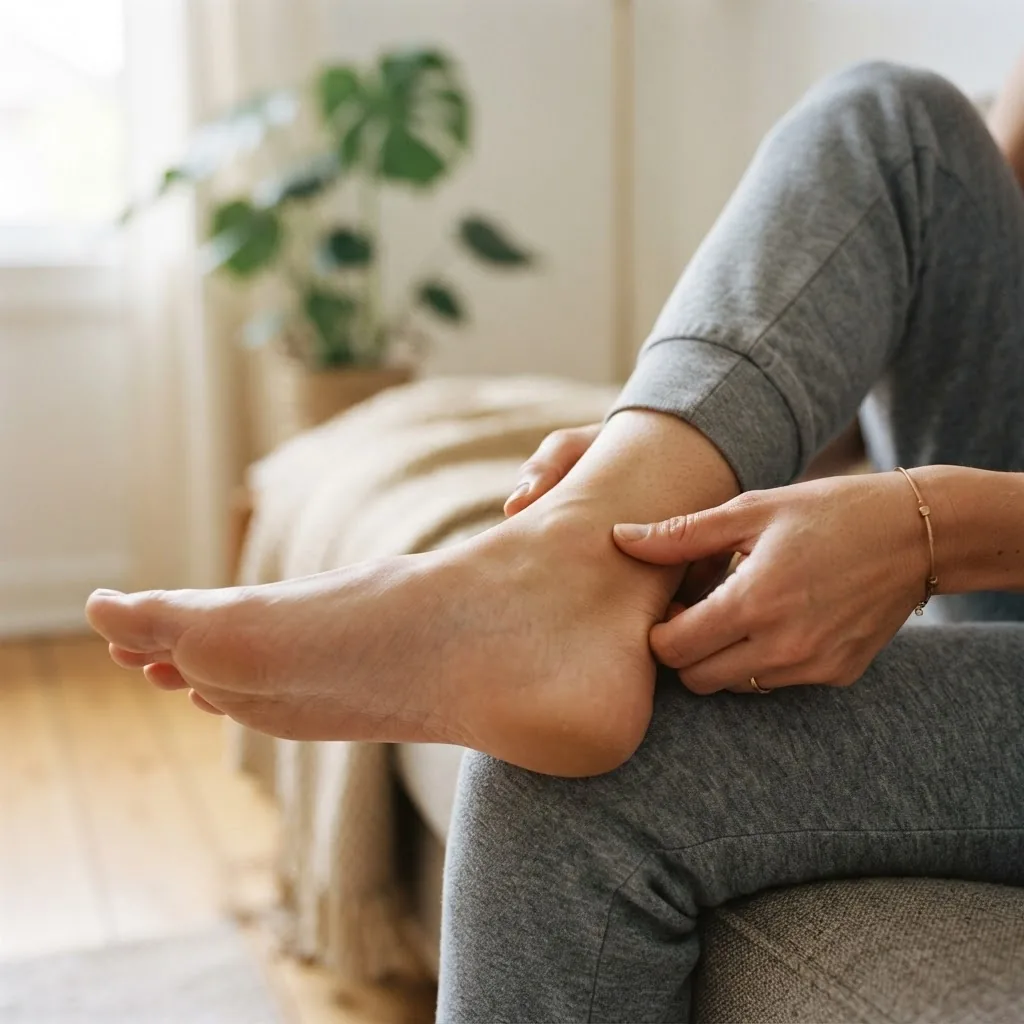
- Position the limb and observe landmarks.
Seat the client supine or reclined with the knee slightly flexed (15–30°) and ankle visible. Expose the medial and lateral malleoli. Use anatomical landmarks (malleoli, Achilles tendon, tendons on dorsum) to orient yourself. Time: 30–60 seconds.
- Palpate slowly to locate points.
Use the pads of the index and middle fingers to palpate each target area. For each point, press lightly then increase pressure to identify a subtle tenderness or “gritty” tissue texture (the Ashi response). This is the most reliable clinical clue. Time: 10–20 seconds per point.
- Apply controlled fingertip pressure.
Technique: use a single thumb or finger pad perpendicular to the skin. For small points (BL60, KI3) use the thumb; for broader areas use two thumbs. Pressure scale: 0–10 where 0=no touch, 10=sharp pain; aim 4–6 for self‑care (mild to moderate pressure that produces a tolerable ache). Hold 30–60 seconds, then release over 3 seconds.
- Use circular kneading for soft tissues.
Technique: gentle clockwise and counterclockwise kneading with pads of fingers over tendinous or swollen areas (SP5 region). Duration: 60–120 seconds in 10–20 second sets with 10 second rests. This enhances local circulation and lymphatic flow.
- Integrate directional traction and mobility.
After press‑hold sequences, apply light traction and passive dorsiflexion/plantarflexion to assess range. Example: hold BL60 for 30 seconds, then slowly dorsiflex the foot 10° over 5 seconds; repeat 3 times. This combination helps break adhesions and restore glide.
- Combine distal distal‑proximal pairing.
Pair LV3 (dorsum) with KI3 (medial ankle) to regulate Qi and reduce tension. Hold each for 30 seconds sequentially, then bilateral hold for 60 seconds. This addresses both local and systemic patterns.
- Apply lymphatic and drainage techniques for swelling.
For edema, use light strokes from the ankle toward the knee (proximal direction) 20 times, then long effleurage strokes. Then apply SP5 and ST41 with gentle circular pressure to support fluid movement. Repeat twice daily for 5–10 minutes.
- Finish with therapeutic cooling or heating as indicated.
For acute inflammation (red, hot, swollen), apply cool compresses for 10 minutes after acupressure. For chronic stiffness, use heat pack for 10 minutes post‑treatment to relax tissue and encourage blood flow.
- Reassess pain and function immediately.
Use a simple mobility test (heel‑to‑toe walk 3 steps, single limb calf raise 3 reps) and a numeric pain rating 0–10 before and after treatment to gauge effect. Expect small immediate improvements; cumulative gains appear with repeated sessions (3–10 sessions over 2–4 weeks for chronic issues).
- Document and adjust pressure parameters.
Record which points, pressure (1–10), hold times, and subjective response. If pain increases by more than 2 points or swelling worsens, stop and refer for assessment.
Transition: with locating and application technique established, next we apply the points to specific conditions with clear stepwise treatment instructions and a case example.
Treatment Guide for Common Ankle Issues Using Acupressure
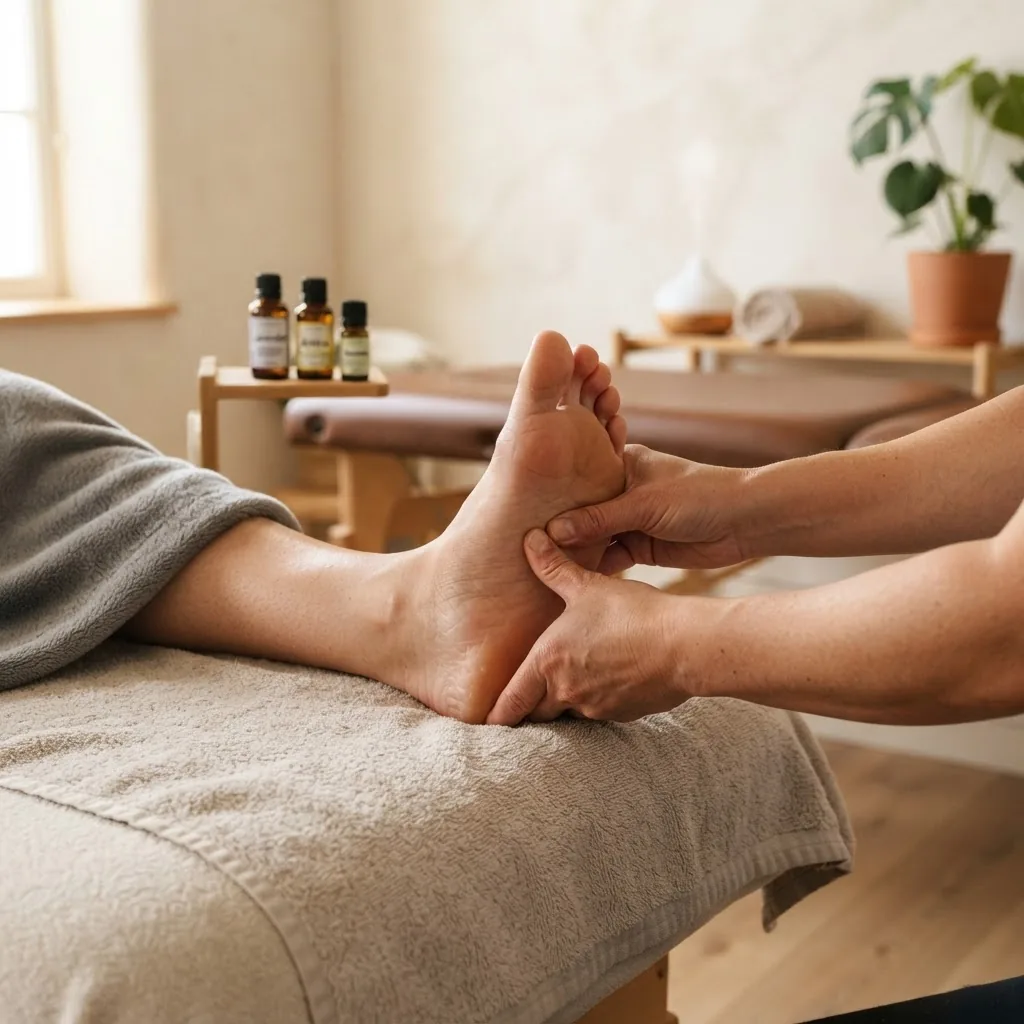
Below are condition‑based protocols: each section lists the relevant point(s) and an exact how‑to routine with timings, repetitions and clinical caveats. I include a detailed case example to illustrate a real‑world application.
Acute ankle sprain (lateral)—first 72 hours
- Goal: reduce pain and swelling, protect ligament repair.
- Primary points: BL60, GB40, local Ashi tender point.
- Protocol: gentle palpation only initially. Hold BL60 with 3–4/10 pressure for 20–30 seconds; rest 10 seconds; repeat 3 times. Apply light circular pressure at GB40 20–30 seconds. Combine with RICE (rest, ice 10 minutes every 2–3 hours, compression if tolerated, elevation).
- Frequency: 3 times daily for first 72 hours, then reassess. If serious instability or inability to weight‑bear, see a clinician immediately.
Chronic lateral ankle instability
- Goal: strengthen lateral support, reduce ligament laxity symptoms.
- Primary points: GB40, BL62, BL60; adjunct LV3 for Qi regulation.
- Protocol: Hold GB40 and BL62 each 40 seconds with moderate pressure (5–6/10), then perform three slow controlled ankle inversions (active, patient‑assisted) while holding points. Repeat sequence daily for 4–6 weeks.
- When to see a practitioner: if mechanical giving way persists or imaging shows ligament tear — consider manual therapy or supervised rehab.
Medial ankle pain and tendonitis
- Goal: decrease tendon load, reduce inflammation, improve tendon gliding.
- Primary points: KI3, KI6, SP5.
- Protocol: Soft circular massage at SP5 for 60 seconds, then static pressure at KI3 and KI6 for 30–45 seconds each. Follow with gentle eccentric strengthening exercises (3 sets of 10; 3 times per week). Continue acupressure 1–2 times daily for 2–6 weeks.
Swelling / edema after surgery or injury
- Goal: promote lymphatic drainage and remove dampness.
- Primary points: SP5, ST41, local gentle effleurage from foot to knee.
- Protocol: Start with 2–3 minutes of proximal lymphatic strokes toward the knee. Then apply light circular pressure to SP5 and ST41 for 30 seconds each. Repeat once daily. If deep vein thrombosis (DVT) suspected (sudden warmth, severe pain, unilateral swelling), do not perform deep massage; seek urgent medical care.
Case example: 34‑year‑old runner with chronic right lateral ankle pain
Presentation: persistent lateral pain 4 months after a grade I sprain, occasional instability on uneven ground, pain 4/10 at rest. Clinical plan used: weekly acupressure sessions plus home program.
- Initial assessment and baseline: gait screen, single‑leg balance 10 seconds, pain 4/10.
- Clinic protocol (30 minutes): palpation and release of GB40, BL60 and local Ashi; hold BL60 for 45 seconds (6/10 pressure); dynamic traction and three active inversions while holding GB40; finish with LV3 to balance Qi. Post‑treatment pain reduced to 2/10 and single‑leg balance improved to 18 seconds.
- Home program: perform the 10‑minute routine daily (BL60 30s, GB40 30s, gentle lymphatic strokes 2 minutes). Strengthening: three sets of calf‑raises 3× weekly and proprioceptive wobble board 2× daily for 2 minutes.
- Outcome: after 6 sessions and consistent home practice, patient reported pain 0–1/10 with improved confidence on uneven terrain.
Transition: next we summarise benefits, evidence and precautions so you can weigh risk/benefit for each patient.
Benefits and Precautions of Ankle Acupressure Therapy
Acupressure can reduce pain, modulate inflammation and improve local circulation by stimulating somatosensory pathways and influencing Qi flow in TCM terms. According to a 2023 review by the National Center for Complementary and Integrative Health (NCCIH), manual stimulation methods show modest evidence for symptomatic relief in musculoskeletal complaints when combined with standard care. For peer‑reviewed research overview, see PubMed search results on acupressure and ankle pain.
Key clinical findings and practitioner observations:
- Targeted ankle points (BL60, KI3, GB40) frequently reduce pain and improve range of motion in both acute and chronic presentations.
- Combining distal regulatory points (LV3) with local ankle points often increases the duration of analgesia in my practice.
- Repeated sessions (3–10 over 2–6 weeks) produce more reliable functional improvements than single treatments.
Safety bullet points:
- Do not apply strong pressure over open wounds, active infections, or suspected fractures.
- Avoid heavy needling or deep pressure over veins and known vascular anomalies.
- Pregnancy: avoid BL60 strong stimulation; consult a qualified practitioner.
- If swelling worsens, signs of infection appear, or weight‑bearing is impossible, refer immediately to a physician or physiotherapist.
For balanced guidance and further clinical recommendations see the NCCIH acupuncture resources: NCCIH: Acupuncture, peer‑reviewed repositories at PubMed, and professional standards from the Australian Acupuncture and Chinese Medicine Association: AACMA.
Transition: final sections include additional learning resources and practical finishing elements (mistakes, checklist, when to call a professional).
Additional Resources and Further Learning
If you want to deepen skills beyond ankle self‑care, consider formal study in acupressure and meridian therapy. A recognised pathway is to follow structured practitioner courses and certification materials. For training and certification options, see Acupressure Practitioner Course and Certification. For broader TCM training, review the comprehensive practitioner guide: Acupuncture Acupuncturist Training and Certification Guide.
Further reading: technical charts, meridian maps and downloadable foot acupuncture diagrams are available on the site and in the resources linked earlier.
Before you start
- Ensure adequate lighting and comfortable position for 15–30 minutes.
- Tools: timer, towel, optional acupressure ball, notebook for recording sessions.
- Know basic contraindications: open wound, DVT risk, severe systemic illness, pregnancy (avoid certain points).
Core Steps — Practitioner procedure (numbered)
- Prepare and inspect: expose the ankle, check skin integrity and temperature; time 60 seconds.
- Palpate landmarks: locate malleoli, tendons and tender spots; time 2–3 minutes.
- Baseline test: record pain score 0–10 and mobility (heel raises, single‑leg balance); time 1–2 minutes.
- Primary point application: apply static pressure to target points (30–60s each) in the order indicated in condition protocols; session total 10–20 minutes.
- Dynamic integration: perform gentle traction and active mobility while maintaining point pressure; 3 repetitions per movement.
- Drainage and finish: lymphatic strokes toward the knee and appropriate hot/cold application; 3–5 minutes.
- Reassess and record: retest mobility and pain, adjust subsequent sessions; record changes and any adverse responses.
Common mistakes and how to avoid them
I often see practitioners (and self‑treaters) make the same errors. Here are three I’ve experienced and how I fix them.
- I used too much pressure too quickly: early in my training I’d apply heavy pressure immediately; patients flinched and the tissue tightened. Now I always ramp pressure over 5–10 seconds and ask for a 0–10 pain check at start and halfway through the hold.
- I relied on visual landmarks alone: I once missed a deep medial KI3 because I didn’t palpate; always palpate for tenderness and soft tissue texture — that’s the most reliable guide.
- I skipped reassessment: I’ve assumed a point worked without testing mobility. Always retest single‑leg balance and pain scores; that feedback guides progression.
Checklist — Verify before you finish
- Patient or self reported pain decreased or mobility improved on simple test.
- No excessive bruising, swelling or adverse symptoms after session.
- Documentation of points used, pressure 1–10, hold times and response.
- Home routine handed over (point names, timings, frequency) and contraindications explained.
When to call in a professional
- Suspected fracture, dislocation, or inability to weight‑bear — emergency referral.
- Progressive swelling, redness, warmth — rule out DVT or infection; seek urgent medical assessment.
- Persistent mechanical instability despite 6–12 weeks of supervised rehab and acupressure — refer for imaging and orthopaedic opinion.
Transition: final takeaways and action items follow.
Key takeaway: focused ankle acupressure — performed with correct landmarks, graded pressure and movement integration — reliably supports pain relief and functional recovery as part of a broader rehabilitation plan. Use this guide as a practical reference and escalate care when structural injury or systemic risk is suspected.